

Difficulty: Easy ★☆☆☆☆

Materials you will need:
- One of the Templates
- Gold and burgundy/ dark red felt
- White felt or white fabric paint
- A pen/ pencil/ chalk
- A hot glue gun/ glue
- Scissors good for cutting paper
- Scissors good for cutting fabric
- Ribbon/ string
- Craft knife (optional)
- Cutting mat (only if you're using a knife)


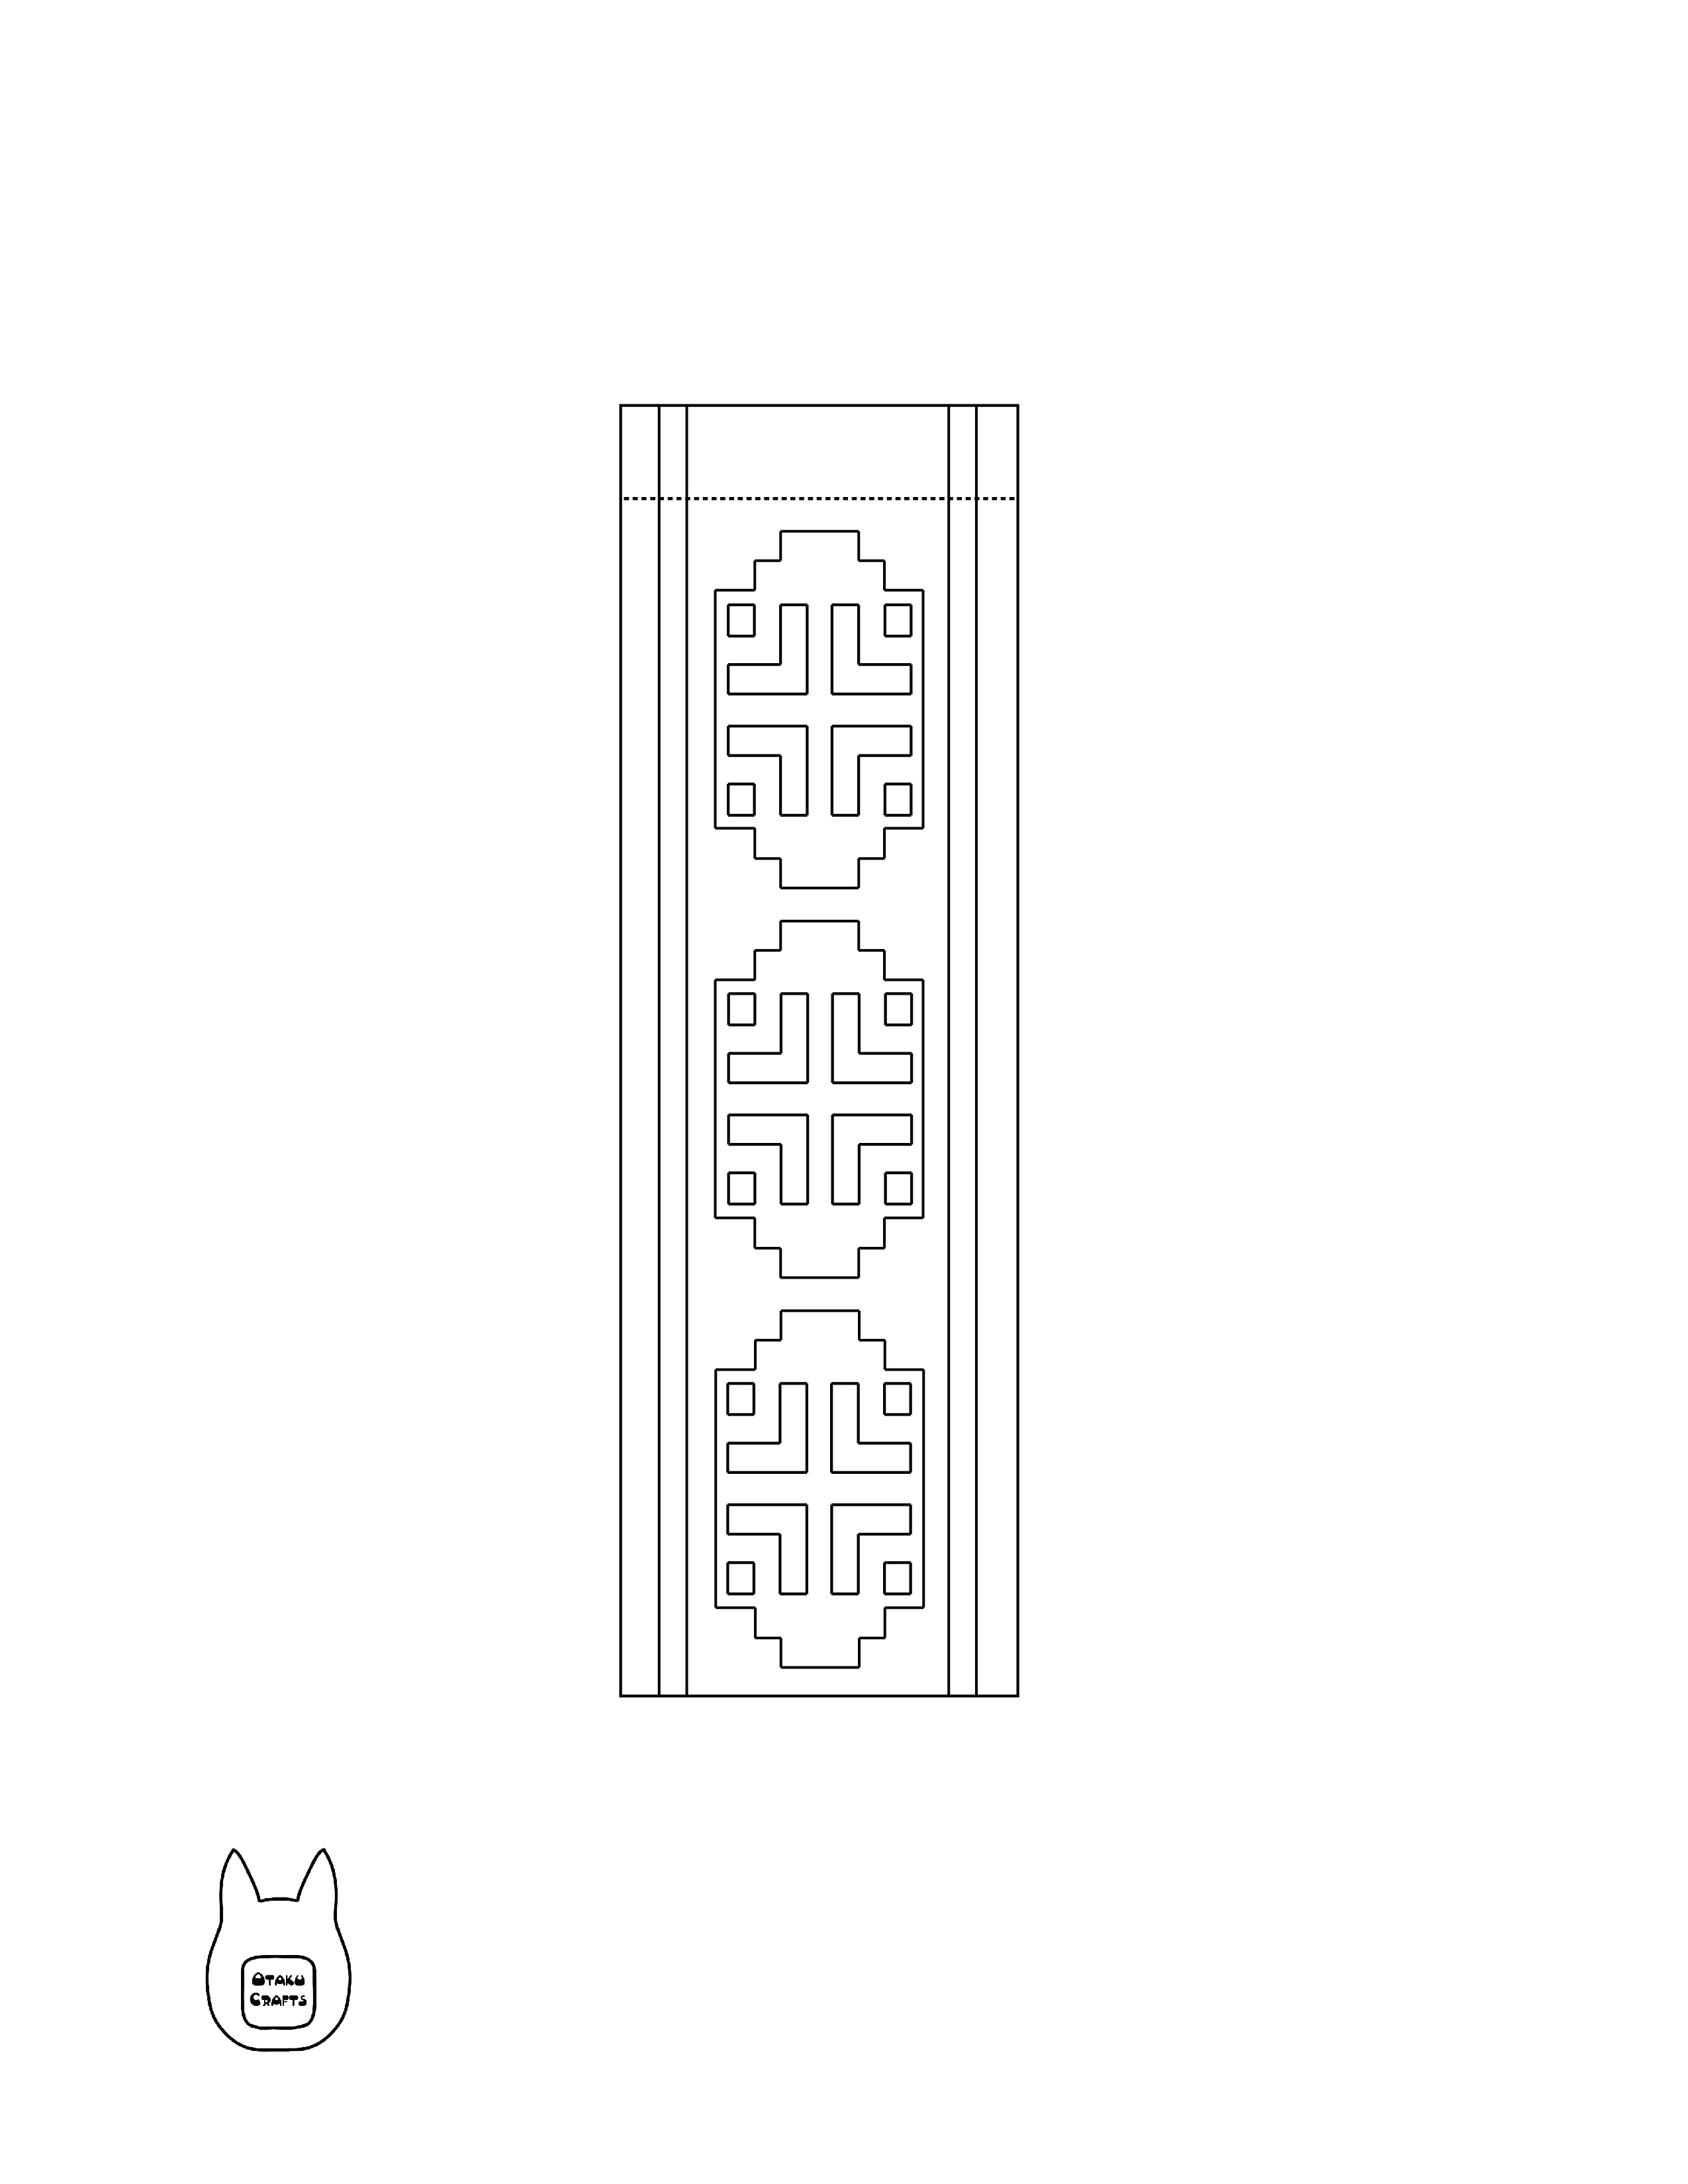
Start off by choosing which scarf design you want to make. Then print out the template for the one you've chosen. (Click on the picture to take you to the template)


Once you've printed out your template, cut out the scarf.


Trace the rectangle onto some gold felt, then cut it out.


Go back to your scarf template and cut out one of the inner side strips. You can cut it off where the doted line is, don't worry about making it the same length as the main scarf. Also cut out one of the middle design pieces, just the diamond like shape for now, don't worry about the inner white details.


Trace the strip and diamond shape onto some burgundy/ dark red felt. Make sure to trace 2 strips (one for each side) and 3 diamond shape pieces. Then cut the traced pieces out.


Go back to the template (the rectangle part) and fold it along the dotted line at the top. Line the bottom of the template up with the bottom of your scarf (gold rectangle) and mark the felt along where you folded the template. Then flip your scarf over and on the other side use your template to roughly mark out some guidelines for where you're going to be gluing the red design pieces.


Then you can start gluing on the 3 diamond shaped pieces and the 2 strips to the main body of the scarf. Make sure that you glue down the side that has the trace outlines on it.


When you have all of the red design pieces glued onto the scarf, cut a long piece of your ribbon or string. Then flip your gold rectangle over so that the side with the line at the top is facing up. Then put some glue onto the line and glue your piece of ribbon to the back of the scarf. Then you can put some more glue onto the ribbon and fold the felt back onto itself (fold along the line). Then you can tie the two ends of your ribbon/string together.


Go back to your diamond shaped template piece and cut out the design. Depending on which way you want to make your white design pieces, you'll be using different parts of the template. If you plan on making them out of felt, use the individual pieces and trace them on to the white felt and glue them to the scarf. If you are planning to use the fabric paint, we'll be using the diamond with the design cut out of it.


Place your diamond onto one of the red felt pieces and with some chalk, go over the holes so that when you remove the template you're left with the design. Do that for all 3 red pieces.


Go over your chalk outline with some white fabric paint. Let the ornament dry flat for however long the paint bottle suggests.

There you have your finished Journey scarf ornament!
No comments:
Post a Comment