

Difficulty: Easy ★★☆☆☆

You will need:
- the template printed out on thick cardstock paper
- white craft glue
- scissors and/ or a craft knife (and cutting mat to protect your surface)
- various coloured markers (optional)
- finishing spray/coat (optional)
- sewing needle (optional)
- clear fishing line/elastic (optional)

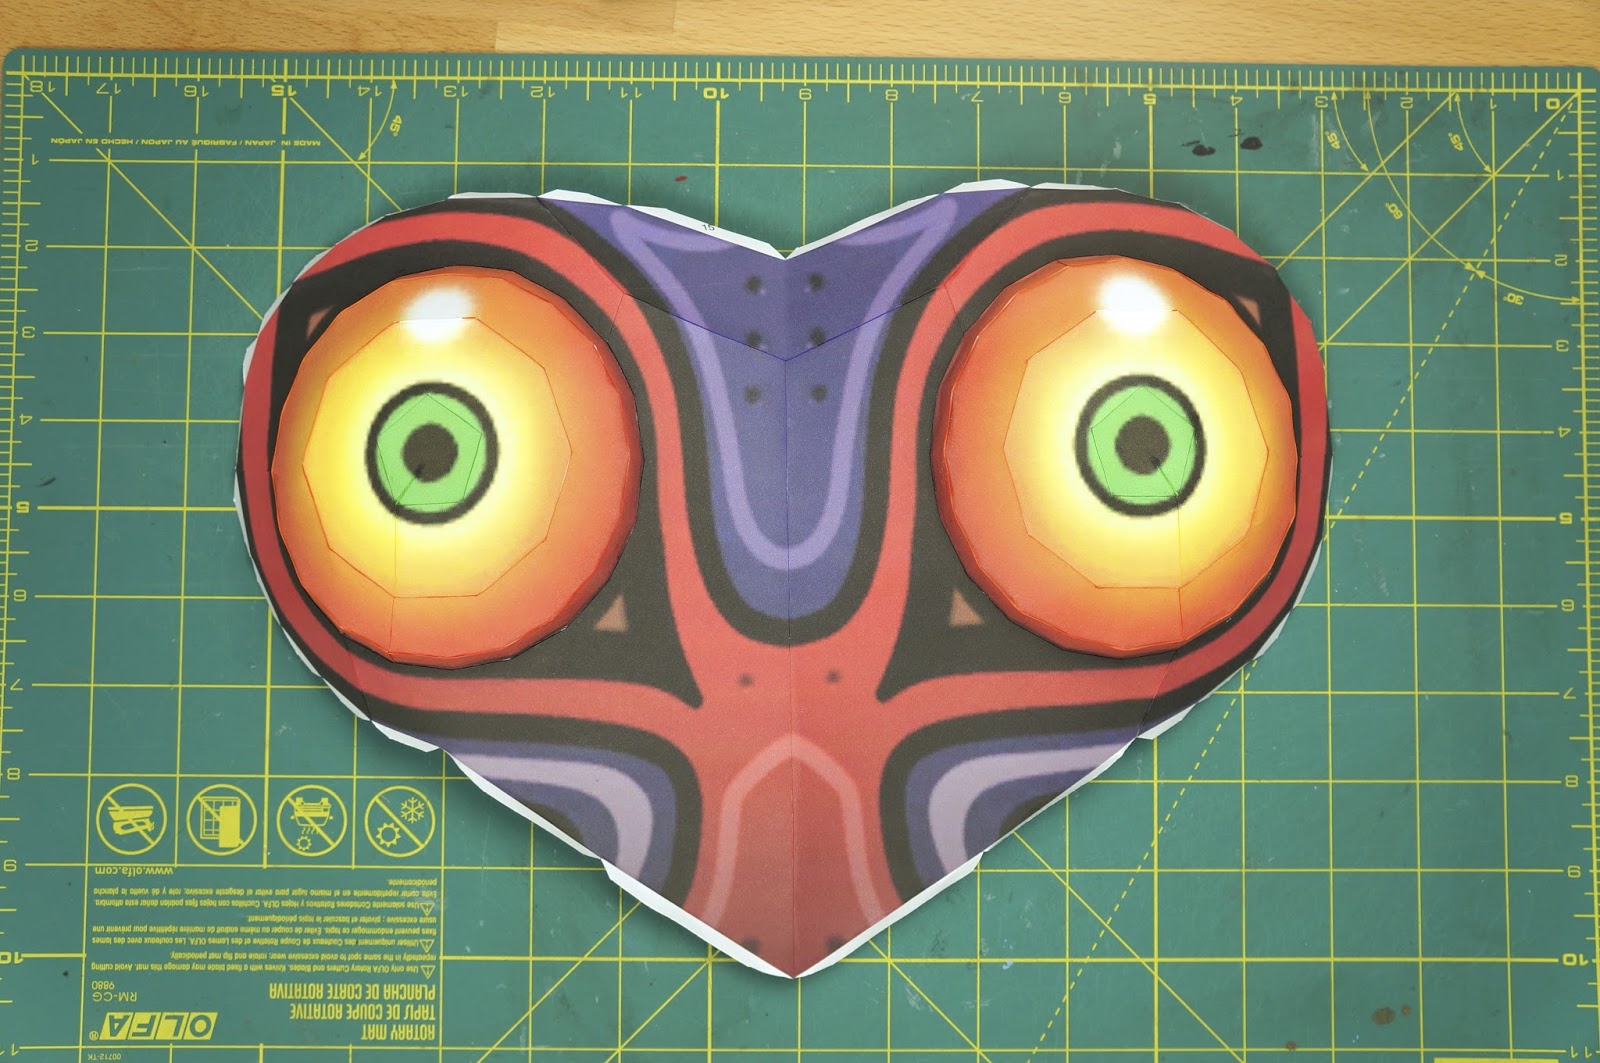
First you will need to print out the Majora's Mask template onto some thick cardstock paper. The template can be downloaded here. The download includes PDO and PDF files of both the lined and lineless versions of the mask. If you are making this mask to wear as part of a costume, follow the additional instructions written in the template.


Cut out pieces 1-5. If you want, colour the edges of the cut out paper pieces with a corresponding colour to eliminate the look of white edges.


Bend all of the tabs downwards (mountain fold) on piece 2. Glue piece 1 to piece 2.


Bend all of the tabs downwards on piece 3. Glue piece 3 to piece 2, matching up the seams.


Bend the tabs on the short ends of pieces 4 and 5 downwards. Fold the rest of the tabs on those two pieces upwards (valley fold).
Glue pieces 4 and 5 together by one of the tabs on the short ends then glue the joined 4 and 5 to piece 3. Again, line up the seams and the colours of the paper.

Repeat the same steps for pieces 6-10 to create the other eye.


Cut out pieces 11-15. Colour the edges and fold the tabs downward on all of the pieces.

Glue pieces 12 and 14 together.


Glue the eye made from pieces 1-5 to piece 12. Make sure the eye hi light is at the top.

Glue piece 11 around the eye and to piece 12.

Repeat the same steps for the other eye and piece 13.

Glue piece 15 to the tops of pieces 11-14.


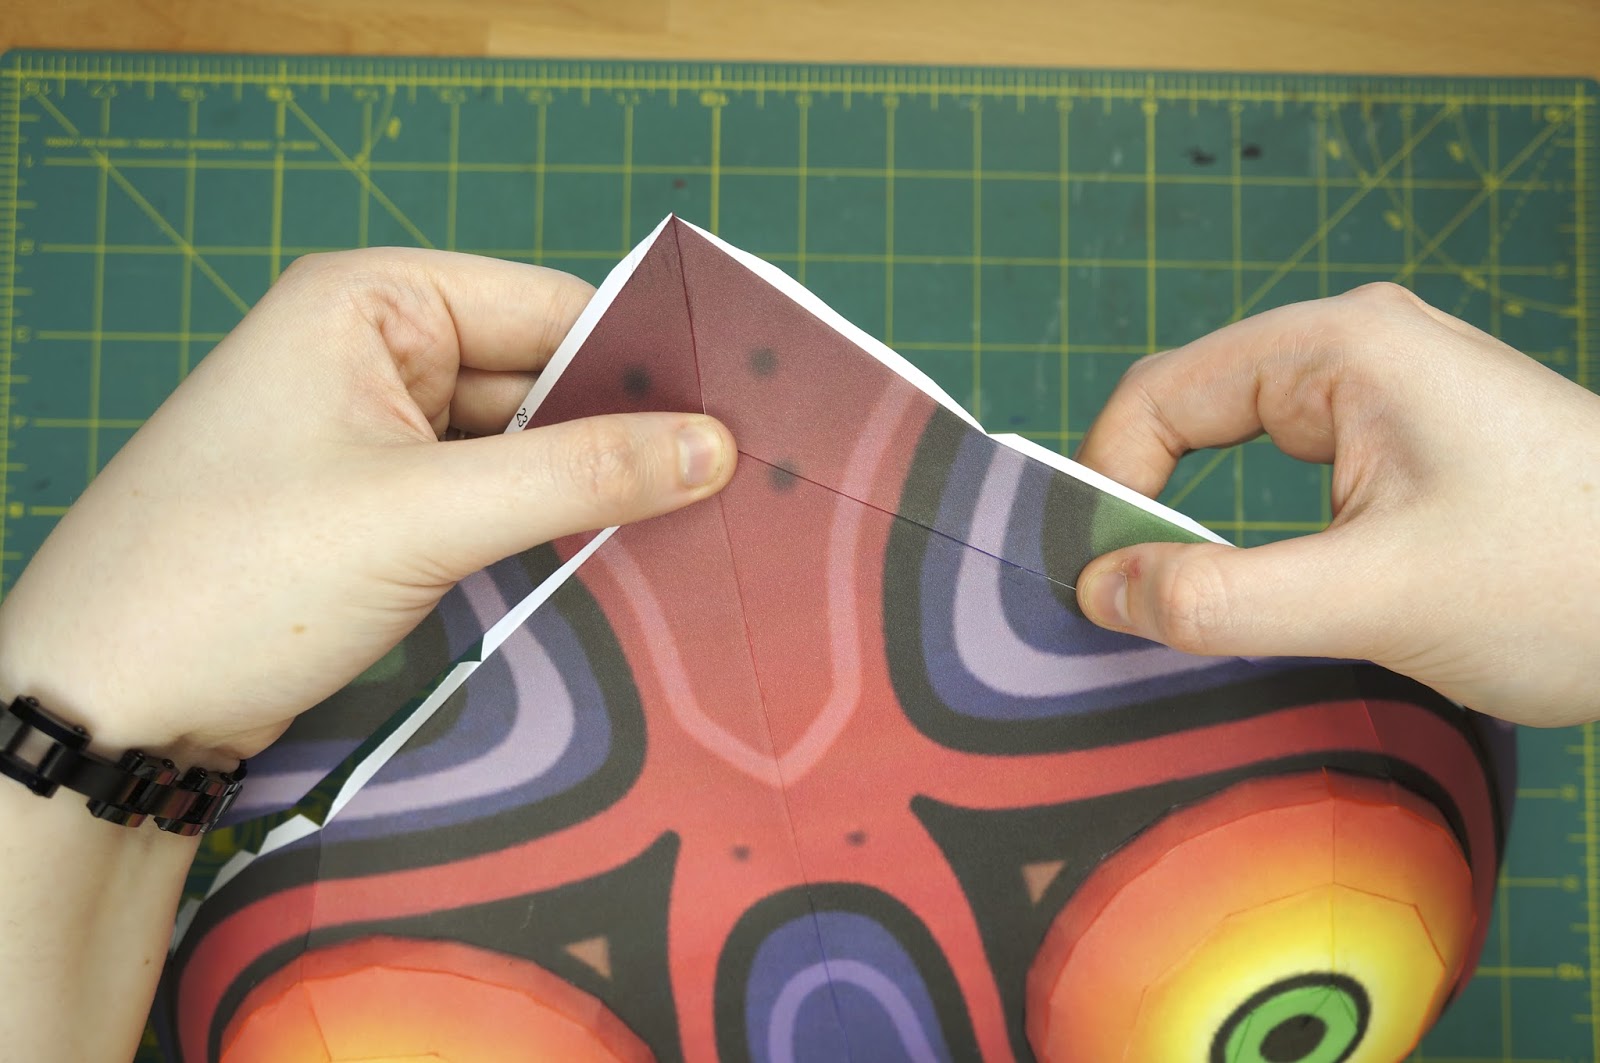
Cut out pieces 16-21, colour all of the edges and fold all of the tabs downwards.


Glue pieces 16 and 17 together then glue to the top of the mask along pieces 11, 13 and 15.


Glue piece 18 to the end of piece 16 and along the tabs of piece 11. Repeat for piece 19, gluing it to the opposite side of the mask along piece 13 and to the end of piece 17.


Glue pieces 20 and 21 together then glue to the top of the mask along pieces 16 and 17.


Cut out pieces 22-27, colour the piece edges and fold all tabs downwards.


Glue pieces 22 and 23 together then glue them to the bottom of the mask along pieces 12 and 14.


Glue pieces 24 and 25 together then glue them to the bottom of the mask along pieces 22 and 23.

Glue pieces 26 and 27 to the top of the mask along pieces 20 and 21.


Cut out pieces 28 - 34, colour the edges and fold all of the tabs downwards.


Glue pieces 28 and 29 together then glue them along the top of the mask.

Glue piece 30 to the top of the mask along pieces 28 and 29.


Glue piece 31 to the end of piece 28 and along the side of piece 24. Repeat the same thing for piece 32 on the opposite side of the mask, attaching it to piece 29 and along the side of piece 25.


Glue piece 33 to piece 31 of the left side of the mask. Repeat for piece 34 on the opposite side, attaching it to piece 32.

If you want you can use some excess paper on the inside of the mask to further strengthen the model. Just glue strips of paper where you want the mask to be stronger.


Cut out pieces 35-38, colour edges and fold all of the tabs upwards (valley fold).


Glue pieces 35 and 36 together then glue to the back of the mask.


Glue piece 37 to piece 35. Next, glue piece 38 to 37 before attaching it to piece 36. Glue the rest of pieces 37 and 38 to the back of the mask.


Cut out all of the mask spikes (pieces 1-4 L and R and pieces TL and TR) Cut the black/dark part at the bottom of each spike piece into tabs.


Colour the edges and fold all of the tabs downwards. Also fold along the dark edge and each spike.


Starting with pieces 1L and 1R, glue the long tab to the other side of the spike to create a cone shape that's flat on one side. Glue the spikes to the appropriate spot on the mask, there are dark half circle shapes along the sides to help spike placement. Spikes 1L and 1R are the top side spikes.

Repeat for the rest of the mask spikes, including the 2 top ones.


For hanging your mask, thread a sewing needle with clear fishing line. Poke the needle through the sides of the mask (even on both sides) and tie the ends of the fishing line.

If you want you can spray your mask with your choice of finishing coat to protect it.

Now you have your very own Majora's Mask!
Really beautiful! Nice work and thanks for sharing
ReplyDeleteOMG! THIS IS SO BEAUTIFUL! I want to make it right now.... Thanks so much for sharing this amazing model! I love how it is so smooth and shiny and colourful!
ReplyDeleteThe colours are so vibrant! Thanks SOOOOO much for making it life size because I can now make a mask and one to hang on my door! It is the best Majora's mask paper craft out there. The colours are absolutely stunning I have to say!
ReplyDeleteThis comment has been removed by the author.
ReplyDeletehttps://goo.gl/photos/SUr2vSiivtWSkEg69 :)
ReplyDeleteThank you so much ;)
DeleteHey there!! look this is the case ... the mask enchanted me and all so much that I decided that I do on my computer but I can not download so Michaela want you can send me the template by email or by half to make the mask, I'm from mexico and I hope you do not hate us but really would appreciate your support to this great work of art on paper.
ReplyDeleteI wait your answer
~ Ricardo
HI! When you click the download link it should start to download automatically to your computer. If it doesn't you might need to change some settings on your computer.
DeleteThe file is a compressed zip folder so you have to extract the files from it. If your not sure how to do that I'm sure a simple google search will be able to help you.
There are 2 types of files; pdf and pdo. Your computer should already have a program installed to be able to open the pdf files.
Hopefully this helps you to be able to open the files :)
I forgot to say that this mask is the best internet and seen all
ReplyDeletetwo masks and I make one for me and one for my cousin for Christmas.
ReplyDeletei've finally got this pattern printed out after several hassles with empty ink cartridges! before i get too far into making the mask, id like to know a good way to keep the mask on my face. should i use an elastic band, or some other way i havent thought of yet? thank you in advance to anyone who replies C:
ReplyDeletethank you....this is the best reply ive ever gotten on anything.
DeleteHi! Nice Job! Can i make a Tutorial for my YouTube channel? (i would credit you, putting a link to this)
ReplyDeleteHi! Has someone made a way to make this into a real mask? I'd love to know because im making this mask for a school project. I hope somebody replies to this. Thanks!
ReplyDeleteTake the pepakura print out that you sized correctly to your head cut the pieces out roughly and glue them to cardboard. Repeat this steps above to assemble using tacky glue pressure and patience. Then paper mache over the entire mask inside and out try to do for coats on the outside and 2 on the inside. Then use Elmer's wood filler to cover the entire mask inside and out let dry sand paint and done I'm almost done with mine!
Deletewhere do I get the templates
ReplyDeletehow long did it take to build it?
ReplyDeleteI'm currently making mine, and I've put probably 4 or 5 hours into it so far. I'd say I'm about 3/4 of the way done, probably a couple hours left. So, I would say about 8 hours if you're an amateur like me.
Deletea lot of the color is falling off and it looks like trash can some one help
ReplyDeleteI made it and I'm super happy because it turned out exactly like the picture on your blog! Tysm for sharing this really cool papercraft! I also recommend to protect it with finished coat to protect the colors that tend to fade off very quickly on paper!
ReplyDelete