Difficulty: Medium ★★☆☆☆
- The template
- Model magic/ air dry clay
- Acrylic paint in various colours
- Paint brushes
- Wax paper
- Scissors
- Sculpting tools (optional)
- Ribbon/ string
- A pallet/ something to put/ mix paint on
- A pen/ pencil
- A rolling pin
- Tin foil/ tissue/ sponge (something to add texture)
- Mod Podge/ a finishing coat/ spray (optional)
The first thing you're going to want to do is print out the template.
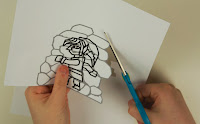
Once you have the template printed out, go ahead and cut it out. Cut around the edges of the rock for now.
Take some of your sculpting medium (model magic, air dry clay) and roll it into a ball. Place it onto some wax paper and with a rolling pin, roll the ball into a flat, even surface around half an inch thick.
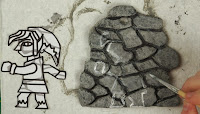
Take your template and smooth it out onto your rolled out clay. Then with a sharp sculpting tool or anything that has a sharp edge, begin to cut around the template, cutting off the excess clay. When you've cut away all the excess, go back around the edges and smooth them out.
Using the template as a reference, start to add the rock design. Make sure you don't make the indents between the rocks too deep, no more then half of the thickness of the clay. When you have the rocks complete, cut out a circle in the upper middle of the ornament for the ribbon/ string to go through later. Then let your ornament dry completely dry, keep it on the wax paper so that it doesn't stick to anything. You might have to turn your ornament over to allow the back to dry.
Once the clay/ model magic is dry, paint the entire ornament (front and back) in a medium grey. Make sure you get between all of the rocks and the sides of the ornament. You want the grey to be completely opaque, so you'll probably need to paint on multiple coats.
Once the base coat is dry, scrunch up a small piece of tinfoil. Dip the tinfoil into some dark grey paint and dab it onto the rocks. Do the same thing with some light grey paint. You can also use a tissue to create some texture.
With your dark grey paint, go in-between the rocks to add some depth.
While you let that dry, go back to your template and cut out Link from the rocks.
Place your cutout Link onto your ornament and trace the outline onto the rocks. This is just to give you a bit of a guideline and help you with the rest of the line placement. With some white paint, paint the outline of Link, use the template as reference.
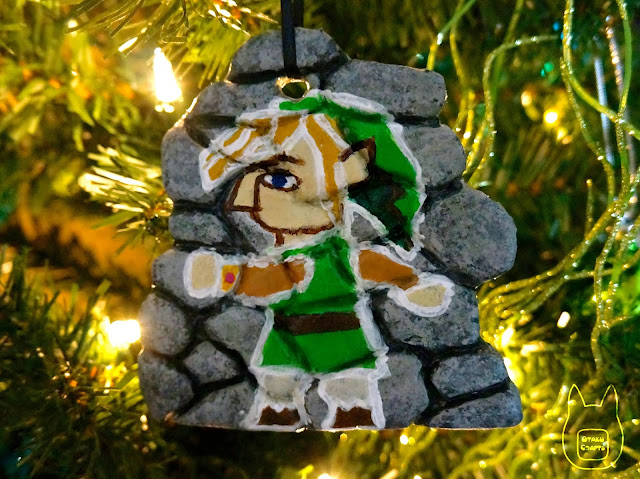
When the outline has dried, fill it in with colour. Make sure you don't paint over the white lines. Also, don't worry if your paint isn't completely opaque, seeing the rock texture underneath is a good thing, it makes it look like Link is actually merged into the wall.
Once the paint has dried, you can go over the ornament with a finishing coat/ spray if you'd like.
Cut some ribbon or string and thread it through the hole that you made in the top of the ornament, then tie the two ends together.
There you have your finished A Link Between Worlds ornament!


sweet! excellent tutorial, thanks
ReplyDeleteLooks EXACTLY like on the 3DS game! :D
ReplyDeleteLooks EXACTLY like on the 3DS game! :D
ReplyDelete