

Difficulty: Easy ★★☆☆☆

You will need:
- a template of your choice printed on some thick cardstock paper
- an LED light
- a craft knife (and cutting mat)
- white craft glue
- scissors
- a pencil
Silhouette Cylinder Templates
First you will need to print both pages of the template of your choice on some thick cardstock paper. The templates can be found here.

Cut off the 2 long strips on either side of the shade of the light from the first page of the template (don't cut along the shorter ends of the rectangle where there are other lines, they're guides for later).


Carefully cut out the design elements from the second page of your chosen template. Try not to cut into the surrounding area of the design pieces too much, you'll be using them as a guide later.
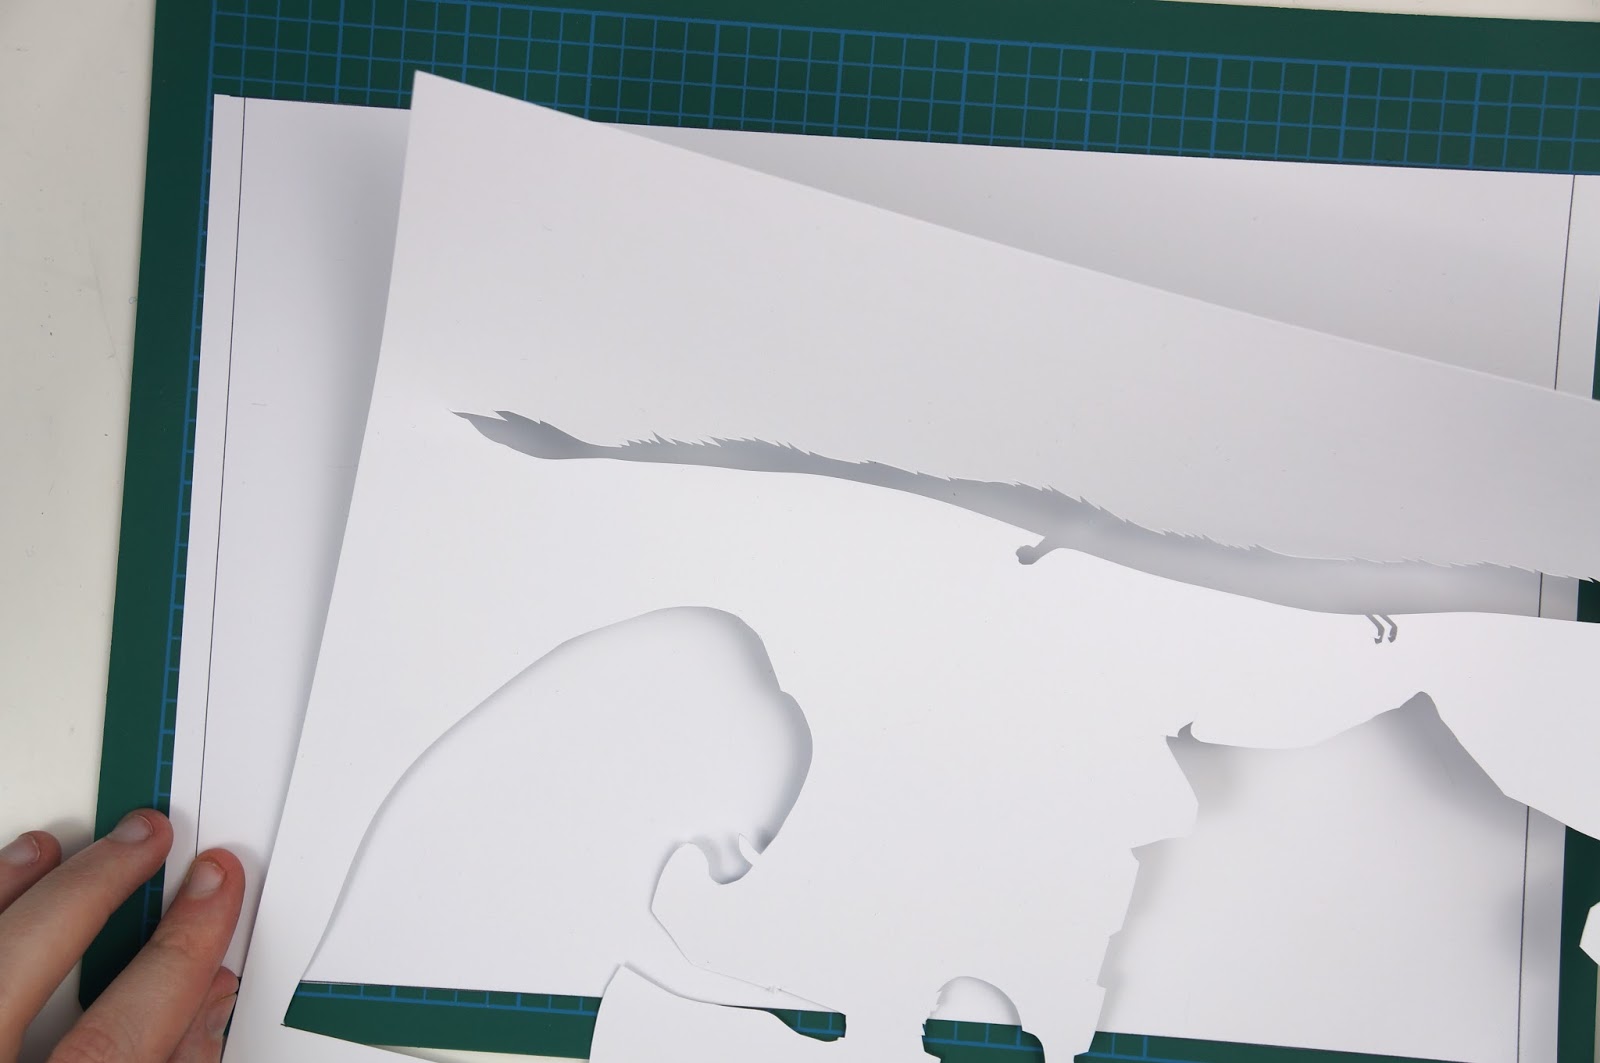


Take the excess part of the second template page, line it up and place it face down onto the shade part of the light (page 1). You should have the shade facing up with the lines on the shorter ends of the rectangle. Lightly trace the cut out design shapes onto the light shade to help you place the design pieces.

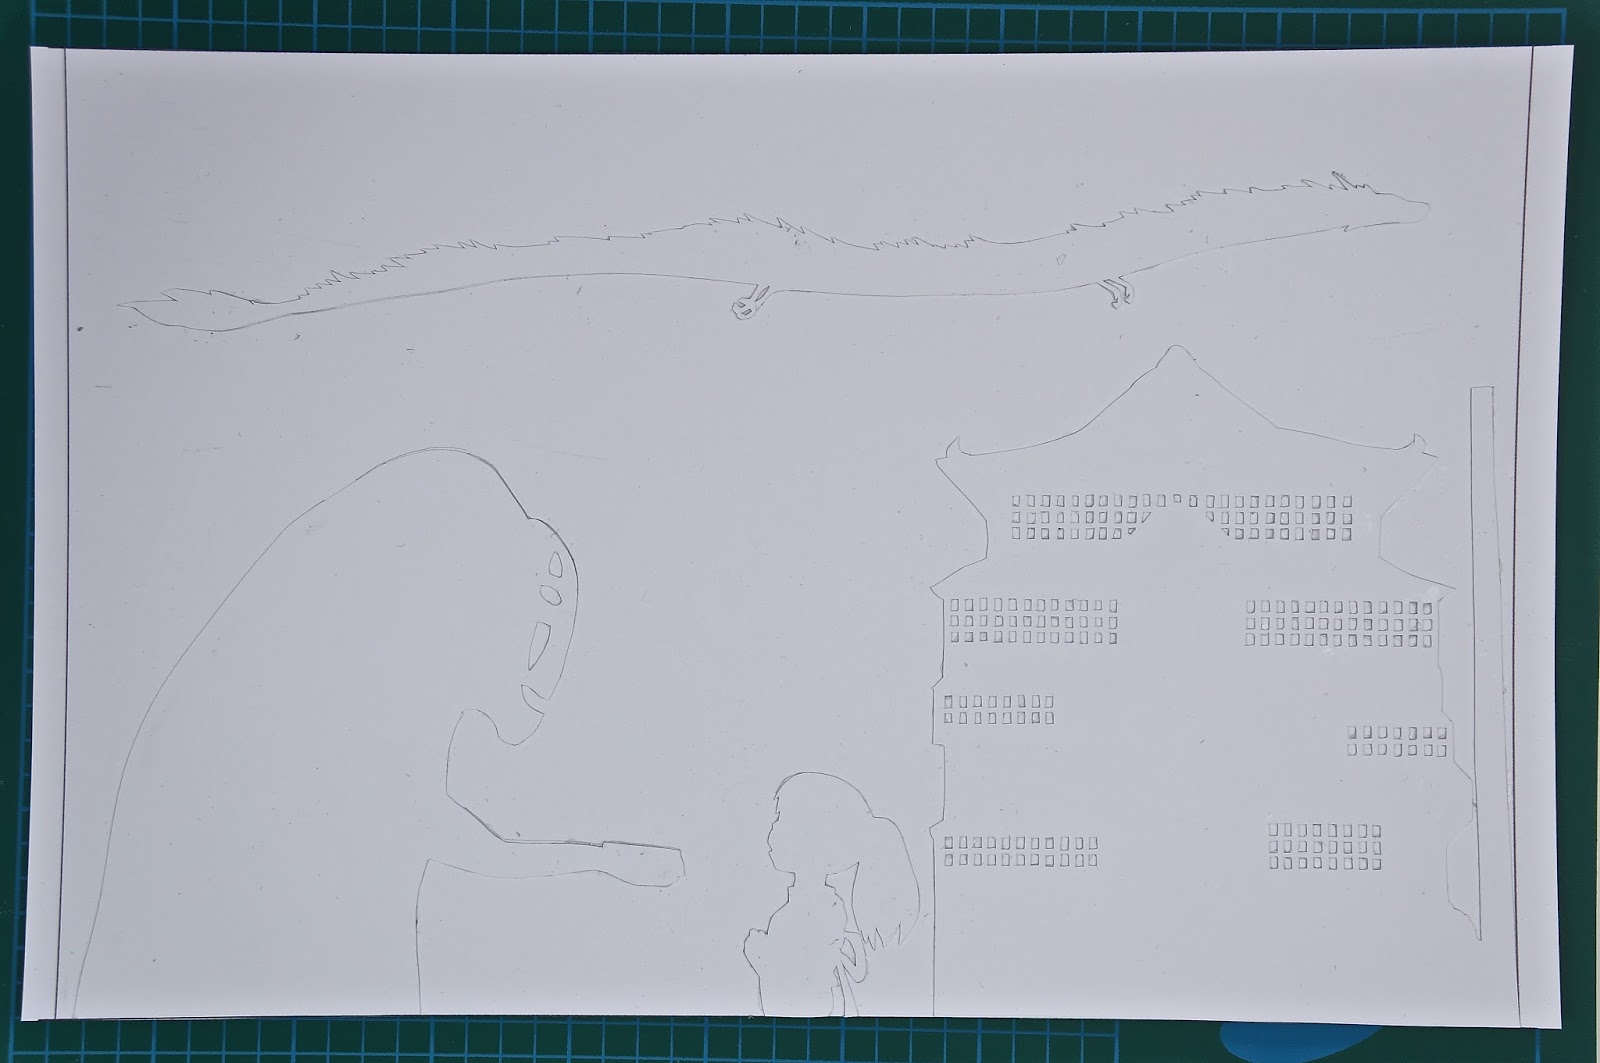
Glue your cut out design pieces (ink side facing down) onto the light shade using the traced lines for guidance. Let the glue dry before moving on.


Gently bend your paper rectangle into a tube shape with the design pieces facing inward. Run some glue along one of the thin marked rectangles on the shorter ends of the the light shade. Match up the 2 strips along the shorter ends and glue in place creating a cylinder (tube).

Stand your cylinder up and place a light inside.
Now you have your finished silhouette cylinder!
WOW! This is so beautiful and thanks so much for doing a Spirited Away one! I love that movie so much! I am going to try this beautiful light and hang some up in my room and house!
ReplyDeleteIf you make one we'd love to see it! Tweet it to us @OtakuCrafts or tag us on Instagram @OtakuCrafters. Have fun crafting!
DeleteSo after you cut out, No face, for example, you glue the ink side down onto the inside or the outside of the lantern?
ReplyDeleteYou glue the cut out pieces onto what will be the inside of the lantern.
DeleteThis comment has been removed by the author.
ReplyDeleteHi Michaela, Is there a way to download the tutorial?
ReplyDelete