

Difficulty: Easy ★★☆☆☆

You will need:
- the star template (we recommend printing it on card stock paper)
- a wooden dowel
- a large clip
- acrylic paint the same colour as your tree
- white craft glue
- a paintbrush
- scissors
- markers in yellow and black (optional)
- a hot glue gun/hot glue (optional)
- Mod Podge or another finishing coat (optional)
- a craft knife (optional)
Download Template
.zip file includes .pdf and .pdo files for both the lined and lineless version of the papercraft (we are using the lineless version) (.pdo's can be opened with Pepakura viewer).

First you will need to print out the template. We recommend you print it out on thick card stock paper.


Once you have the template printed out, cut out pieces 1-7.


Colour the edges of the star pieces with a matching yellow marker. This step is optional but is recommended if you are using a thick paper to eliminate the white edges. Next fold all of the tabs on the 7 pieces downward (mountain fold). You might also want to label the numbers on the backs of the pieces to help you later once they're glued together.


Glue pieces 1 and 2 together.


Glue the tabs of piece 3 onto the other side of piece 1 (the side with no tabs that's opposite to the side piece 2 is glued to). Then glue piece 4 to piece 2 the same way.


Glue piece 5 to the tabs of pieces 3 and 4.


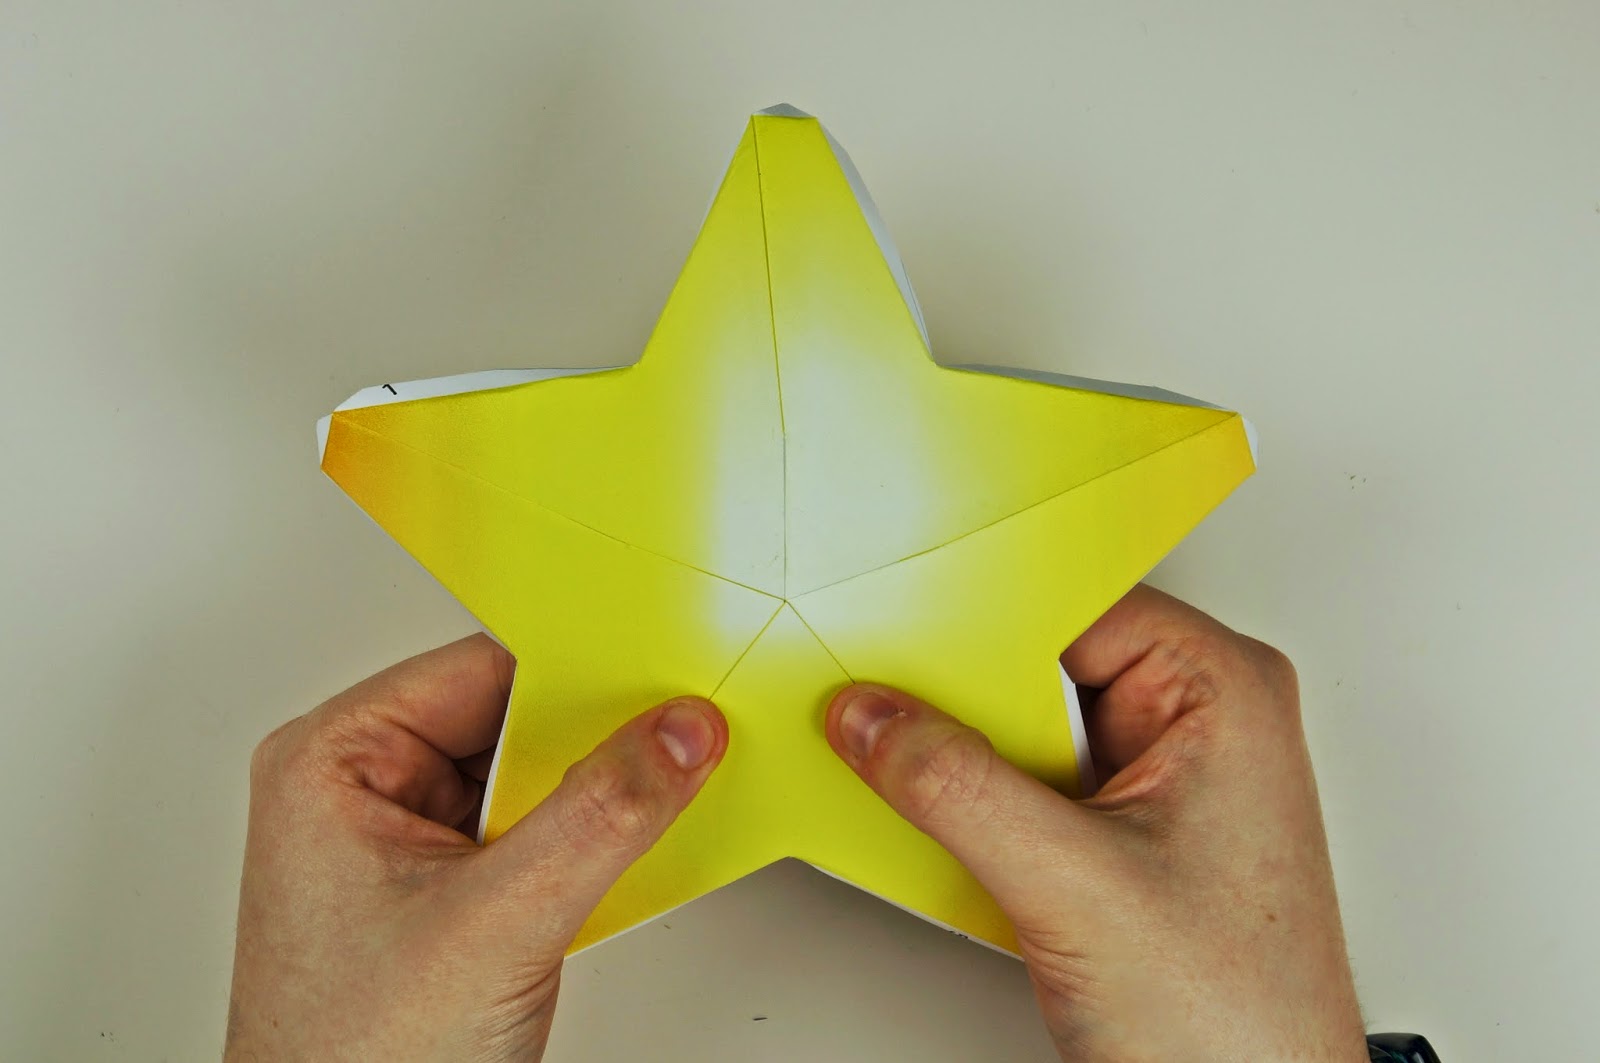
Glue the pointed end of piece 6 to the small tab of piece 2 (the top of the star). Work your way around the right side of the star gluing all the outside tabs of pieces 2, 4 and half of 5 to piece 6.


Glue piece 7 to the end tab of piece 6 at the top of the star. Just like piece 6, work your way around the star gluing the outside tabs to piece 7. Make sure to also glue the end of piece 7 to the end tab on piece 6.


Cut out pieces 8- 14. Again, colour the edges of the pieces (if you want) and fold all of the tabs downward.

We're going to be making this side of the star the exact same way as the side we've already built. Start by gluing pieces 8 and 9 together.


Glue the tabs of piece 10 onto the other side of piece 9 (the side with no tabs that's opposite to the side piece 8 is glued to). Then glue piece 11 to piece 8 the same way.


Glue piece 12 to the tabs of pieces 10 and 11.


Glue the pointed end of piece 13 to the top of the star (small tab at the end of piece 8). Work your way around the left side of the star gluing all of the outer tabs to piece 13. Then glue piece 14 to the upper end tab of piece 13 (the end that you started with) and work your way around the right side of the star gluing all the outer tabs to piece 14. Make sure to also attach the end tab of piece 13 to the end of 14.


Cut out pieces 15-18. Again, colour the edges of the paper and fold all of the tabs downward.


Glue the lighter yellow end tab on piece 15 to the end of 16. Then glue the end tab of piece 16 to the matching yellow end of 17, and finally glue the ends of 17 to the matching yellow end of piece 18 together to make one long strip.


Glue the side end of piece 15 that is attached to piece 16 to the smallest tab at the top of piece 2. The joining line of the pieces should match up. Make sure to have the smaller length of the strip to your left. Then glue the small tab at the top of piece 8 to the other side of the strip in the same spot. The colours of the paper and the edges of the pieces to the tabs should all match up. Start to glue the shorter length of the strip to the tabs on both sides of the star. Glue the strip down tab by tab. Do the same thing for the longer length of the strip. The strip should go around the entire star. Make sure to glue the end of piece 18 to the tab on the end of piece 15 (glue the ends of the strips together).


Cut out the final two pieces of the template (pieces 19 and 20). Colour the edges of the paper with a black marker and fold all of the tabs downward.


Glue the tab to the other side of the paper for both eyes.


Put a generous amount of glue on the tabs at the back of the eyes and glue to the star. Make sure that the lightest point of the star is at the top.


Carefully poke a couple of criss-crossing slits into the bottom the the star with your scissors or a craft knife.


Poke your wooden dowel through the slits you made and slide it in until the dowel hits the inside of the top of the star. Measure and mark your dowel about 8" from the bottom of your star (you might want to increase or decrease this size depending on the size of your tree/ clip). Cut your dowel where you marked it.


Remove the wooden dowel from your star and glue it to the inside of your clip. Make sure to leave a little of the dowel past the clip to help it balance. Also make sure to keep your clip open as the glue dries so that it doesn't get glued shut.


Once your glue is dry, paint the dowel and the clip the same colour as your tree. Don't worry about painting the very end of the dowel, it will be inside the star. You may need to do multiple coats of paint.
Once the paint has completely dried you can paint on a finishing coat of your choosing (Mod Podge, etc.). Let everything dry before moving on.


Stick your dowel back into your star and glue in place.

Now you have your finished Super Star tree topper!
Wow! So awesome!
ReplyDeleteLooks huge! 0-0
gracias por compartir
ReplyDeleteDo you think a good double-sided tape could be used as a substitute for glue?
ReplyDeleteYou can always try it! It will probably make the building process harder though.
Delete