

Difficulty: Easy ★★☆☆☆

Materials you will need:
- The Template
- Model Magic/ air dry clay
- Acrylic paint in various colours (glow in the dark paint is optional)
- Paint brushes
- A pallet/ something to put the paint on
- A rolling pin
- Sculpting tools/ something with a sharp end
- Scissors
- Ribbon/ string
- Wax paper
- Mod Podge/ a finishing coat (optional)
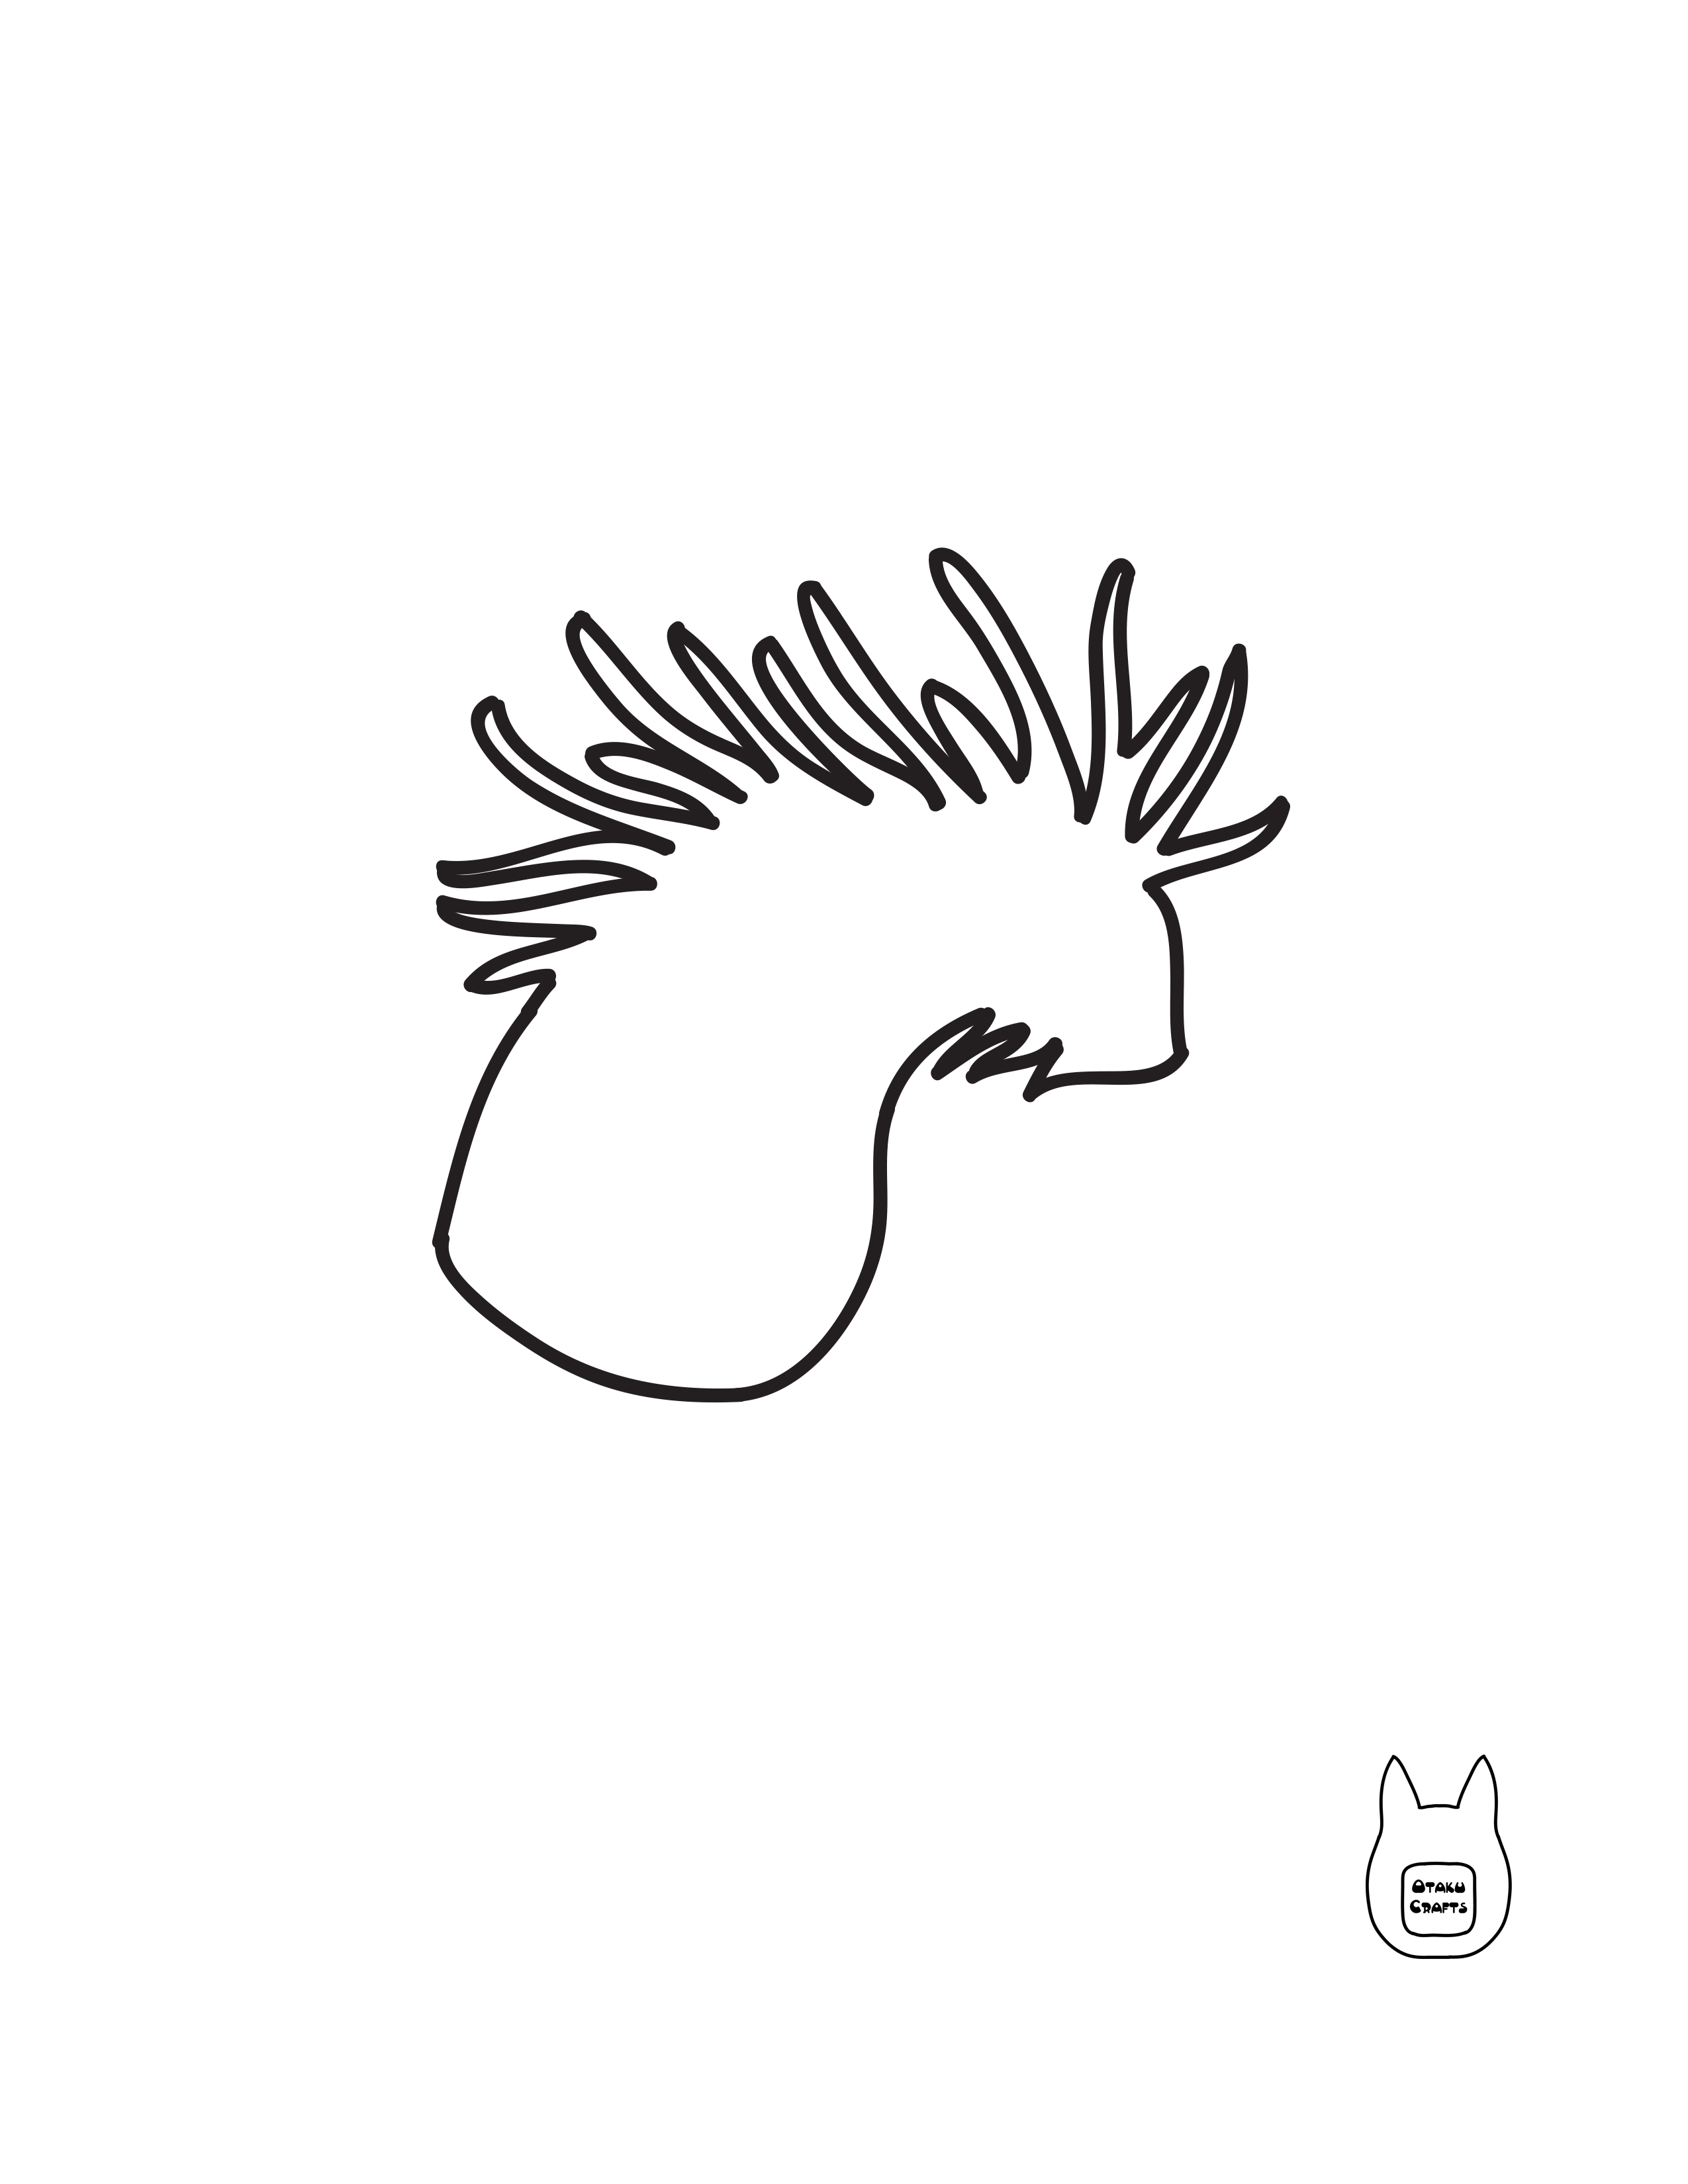
The first thing you're going to want to do is print out the template.


Once you have the template printed out, cut out the Nightwalker silhouette.


Next, take some of your sculpting medium (model magic/ air dry clay) and role it into a ball. Then take your rolling pin and flatten the ball out onto some wax paper (so it doesn't stick). You want to roll out a large, even surface, slightly less then half an inch thick.


Take your template and place it onto the rolled out model magic/ whatever you're using. Then begin to cut off the excess model magic around the template with a sculpting tool or something with a sharp point. Take your time around the antlers.


When you have it all cut out, go back and smooth out the edges. Then cut out a hole for the ribbon to go through later. Now leave it to dry on the wax paper.


Once it's completely dried we can start painting it. Start off by painting the entire ornament (front and back) in a navy/ royal blue colour.


Next take some light blue paint and start to paint the tip of the antlers. Then take a tissue/ paper towel and soften the edges of the paint so that the lighter colour gradually fades into the main body of the Nightwalker. Do that for all of the antlers.


Take your tissue and dip it into the light blue paint and go around the edges of the body. Make sure to soften the edges so it's gradual like the antlers. You want to kind of give the effect that he's glowing. Go back in with your paint brush and light blue and make a thin line along the ends of the antlers where they meet the body.


Now take a darker blue than what the main body is (you can mix the main body colour with black) and paint on some designs. You might want to find a reference photo from the movie to help you. Once you have all of your dark squiggles painted, go back in with the light blue and dry brush around some of the edges of the designs.


With some white paint, go over the very ends of the antlers, the farthest away from the body. Gradually fade in the colour like you did for the light blue.


With the white paint again, start to make small dots, more to the outside of the silhouette and less as you get to the middle of the body. Gradually build up the colour with the dots, you might also want to add in some light blue ones as you get closer to the center so the colour difference isn't as harsh.

When you're happy with the effect, you can go over the entire thing with glow in the dark paint to make him glow like the Nightwalker in the movie, or just finish it off with some glossy Mod Podge or another type of finishing coat/spray.


Once your finishing coat has dried, cut some ribbon/ string and thread it through the hole, then tie the two ends together.

Now you have your finished Nightwalker ornament!
SO COOL!!!!
ReplyDeleteThanks! :)
Delete