

Difficulty: Easy (hand sewing skills required) ★★★☆☆

You will need:
- the template
- red, white, and black felt
- polyester stuffing
- thread (red and white)
- scissors for cutting paper
- scissors for cutting fabric
- pins
- sewing needle
- a pen/ pencil (a disappearing fabric marker works best)

Start off by printing out the hellbug template. The template can be found here.


Cut out the template pieces.


Place, pin and cut out the body pieces including the mouth piece and bottom piece.


Fold felt for cutting 2 arm pieces. Pin and cut pieces out.


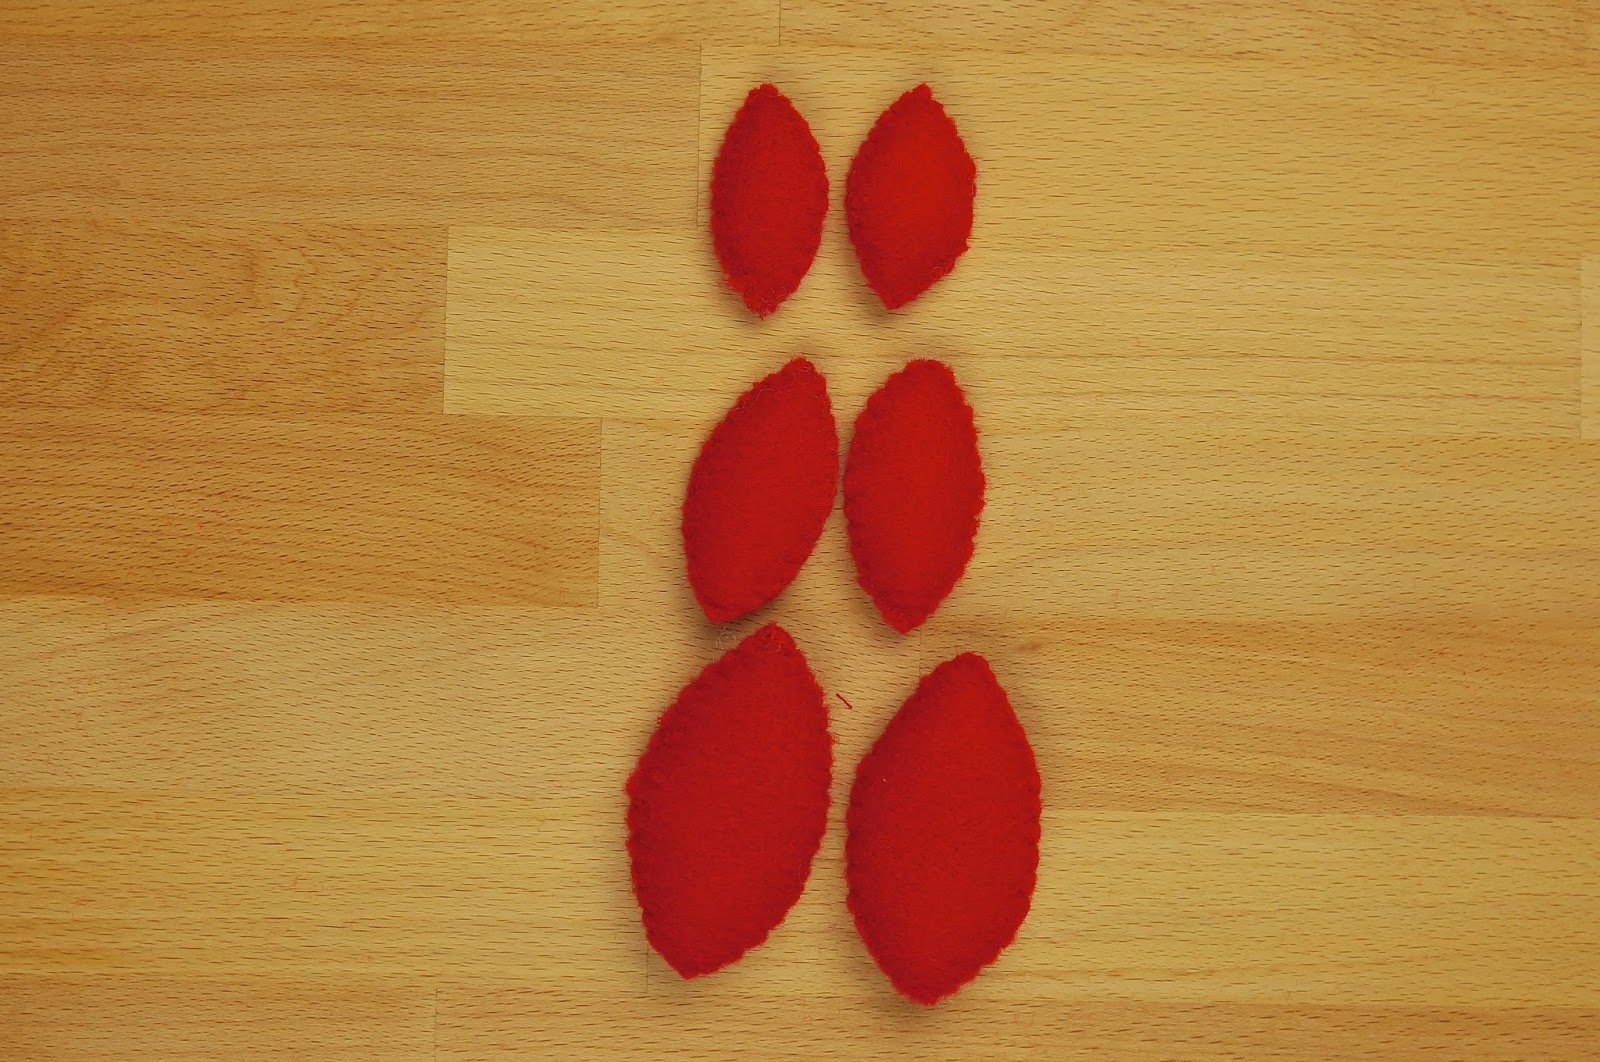
Fold felt to cut double claw pieces (front, middle and back). Once you have cut 2 of each repeat step so you have 4 of each claw piece.

You should now have all the red felt pieces cut out. NOTE: the teeth pattern piece will be used later.


Start with the front and middle upper body pieces. Pin together, lining up the points. Thread a hand sewing needle with red thread and knot the ends together creating a double thread. (Note: make sure you have sufficient thread length for each sewing length so you do not have to start/stop in the middle of a section for more thread)
Start your thread at the corner of the three point side, in-between the sections to hide the knot. You will have to sew in place a few times so your knot does not pull through the felt. Using a small blanket stitch, sew along the outside of the three point side. Once you reach the opposite end of the three pointed side, knot your thread and cut off excess thread.


Pin together the tail section, lining up the two points. Sew together as in previous step. You should have your 3 upper body pieces sewn together creating the points or spikes of the hellbug.


Pin bottom to upper body sections along sides from mouth to tail. Note that the upper section is larger to create a 3-D effect for your plushie. Just worry about the edges lining up. It will not lie flat.
Start at one of the side edges of the mouth and sew around the body section until you reach the opposite side of the mouth opening. (Sew using double thread with blanket stitch, making sure to secure thread at end of section)


It's time to add the mouth section. Aline one of the longer sides of the mouth oval with the bottom of the mouth opening. Pin in place and adjust all the remaining sides of the opening to the mouth piece and pin as you go. You must leave an opening for stuffing and it is recommended to use where the mouth attaches to the bottom piece (your first pin) as the place to not sew yet. Start sewing from one of the sides of the mouth opening securing your thread and work your way around to the other side. Do not cut your thread as you will be using it to sew up the mouth opening after stuffing.


Stuff your bug body to desired firmness. Make sure you have stuffing in all corners including the points or spikes of the bug. Sew the opening closed and secure your thread.


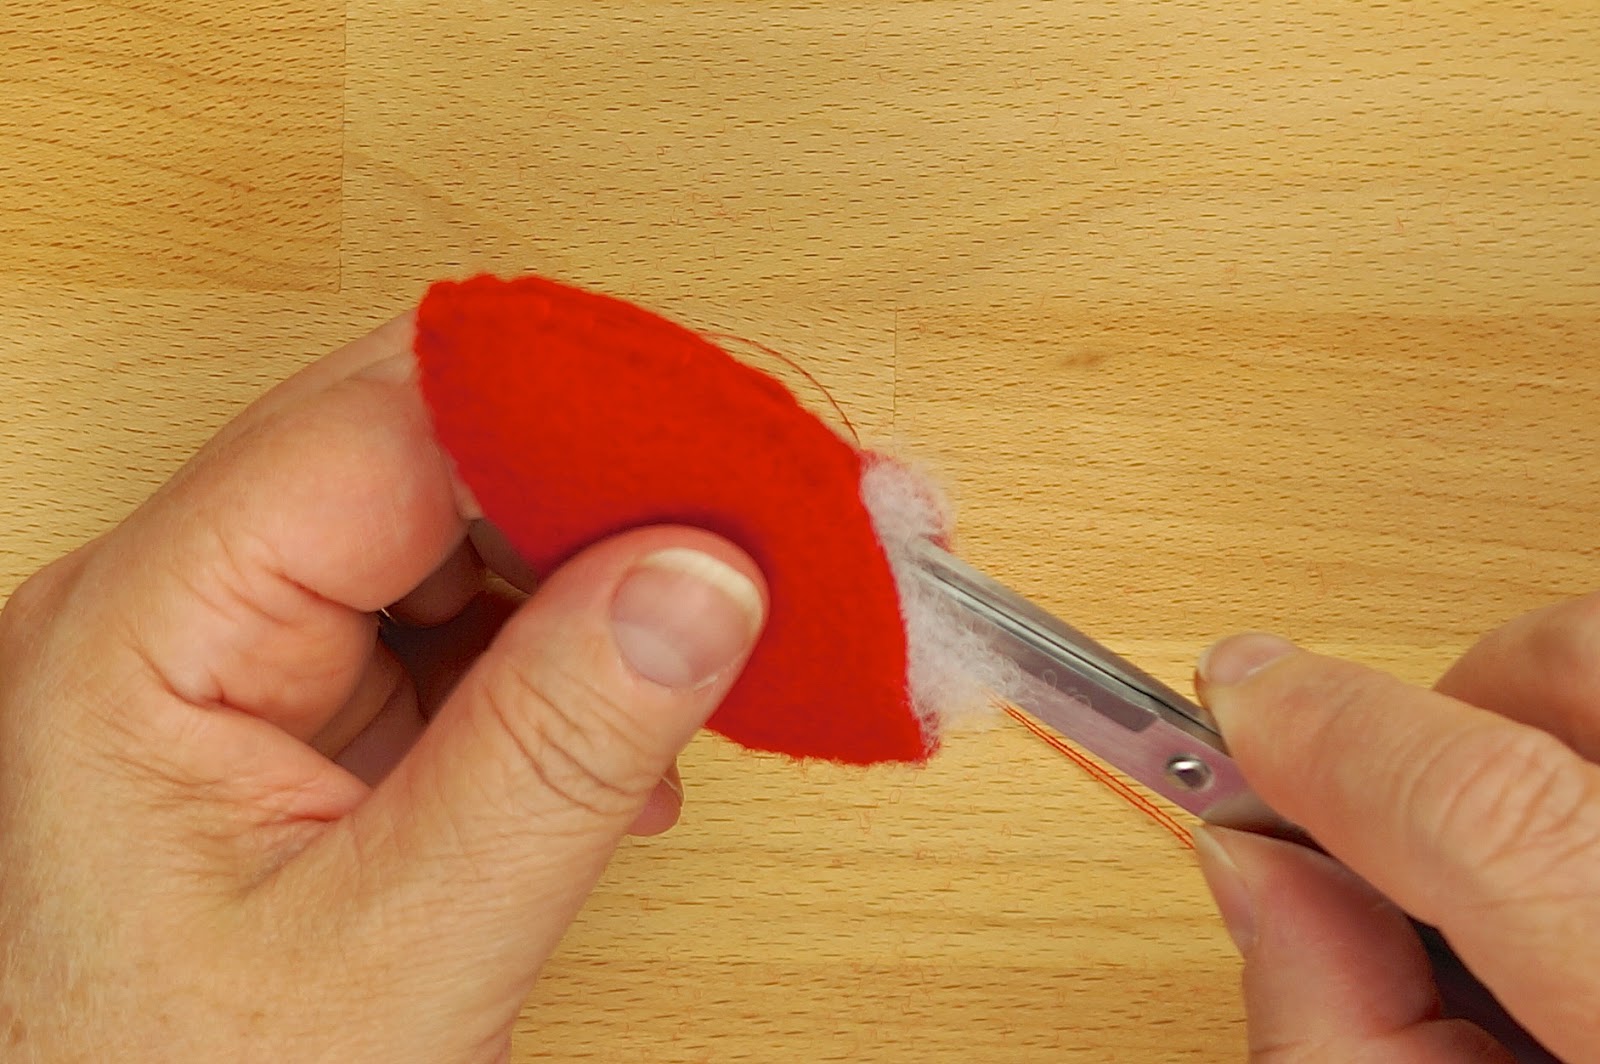


Take two of the matching claw pieces and pin together matching sides. Start sewing at one of the points, securing your thread. Using the blanket stitch, sew around the claw until a finger width opening remains. Do not cut thread yet. Stuff firmly into all areas of the claw. You may require the assistance of a small pointed tool such as a pencil or scissors. Once stuffed, sew remaining opening closed and secure your thread.
Repeat the stuffing process for all 6 claws.


Now it is time to work on the front arm pieces. Thread your needle with a long piece of thread as you will need it for many steps. Starting at one end, sew the shorter sides together creating a tube. Do not break your thread yet.


Taking one of the front claws (largest), find about 1/3 down from an end point and attach the arm tube to the back of the claw. Try to sew in a circular fashion to maintain the tube effect. Sew securely in place, possibly going around twice so arm is attached. Do not cut the thread yet.


Stuff arm firmly. You will need to use a tool to assist such as a pencil or scissors. Once stuffed, run your needle up into the arm to the open end. Sew end closed trying to maintain a circular form. Do not cut your thread.


You will be attaching your front claw section to the body at the bottom of where the front and middle upper body pieces attach. Since your thread is still attached to the arm, position your claw section so the claw will be facing down, and begin sewing in a circular fashion to attach the arm securely to the body. Finally cut your thread after securing. Repeat step for the other front claw/arm pieces.


Secure your thread 1/3 down on the back of a middle claw (medium sized). Join claw to the area at the bottom where the middle and back upper body pieces join. Sew securely in place trying to hide stitching behind the claw. (Sewing underneath claw at bottom helps hide stitching.) Repeat step for other middle claw.


You are going to repeat step for back claws, (smallest). Attach claw at the middle of the upper body tail piece where it joins the bottom. Sew securely as you did for middle claws.


Time to cut the inside mouth section (using the teeth piece). Pin and cut out of black felt.


Carefully cut the inside of the paper pattern piece to leave the teeth oval. Position on white felt. Using a marking tool, carefully trace the oval and teeth outline. Cut out the felt teeth using sharp pointed scissors.


Pin teeth section on top of black felt oval. Using white thread, blanket stitch around the oval slightly stretching the teeth to cover all the black around the outside edge. Do not cut thread. Position mouth/teeth section onto bug mouth and pin in place. Stitch carefully hiding stitching to secure mouth section. Secure thread and cut.

Now you have your finished hellbug!
Nice!
ReplyDeleteThis is awesome! Using it to make a golden skitterling. Cheers.
ReplyDeleteThanks! We'd love to see your finished skitterling, tweet us a picture @otakucrafts
DeleteVery cool! Can't wait to see more awesome stuff from you!
ReplyDelete