

Difficulty: Easy ★★☆☆☆

You will need:
- the template
- felt in white, red, grey, black, peach, cream, and yellow
- embroidery floss in grey, peach and red
- scissors
- a pen/pencil/chalk
- polyester stuffing
- ribbon
- a hot glue gun/hot glue
- a sewing needle
- white paint (fabric or acrylic)
Download Template


Start off by printing out the template. Once you have the template printed out, cut out all of the pieces.


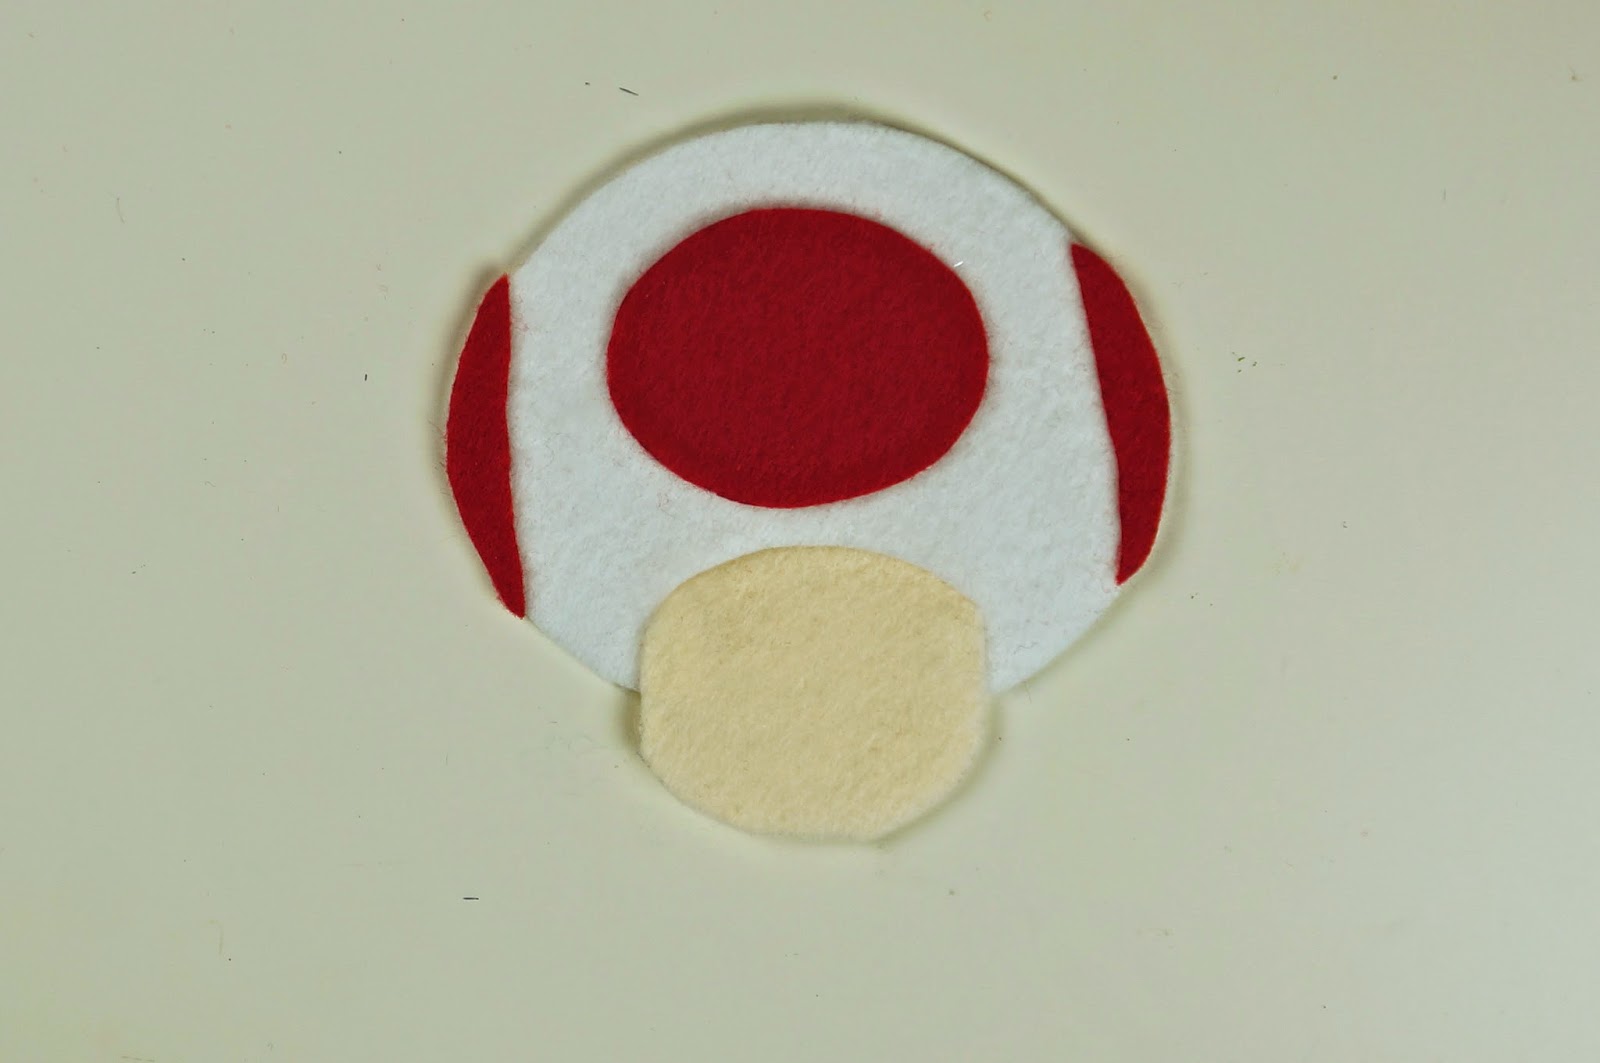
Trace the mushroom front and mushroom back pieces onto your white felt.


Trace the centre mushroom circle, side mushroom designs, tongue, and bandana pieces onto your red felt.

Trace the front and back face pieces onto your peach felt.

Trace 2 of the outer light rim piece onto your grey felt.

Trace the inner light piece onto your cream/light yellow felt.


Trace the eye pieces and mouth piece onto your black felt.


Once you have all of your template pieces traced onto your felt, cut them out.


Glue the center mushroom circle and side mushroom design pieces onto the mushroom front piece.


Flip the mushroom front piece over. Glue the top of the face front to the bottom curved edge between the tabs, overlapping approximately 1/4". Pull the tabs to the back of the face piece and glue in place.


Use the front side of your Toad head to help align the overlap necessary for the mushroom back and face back pieces. Glue face back piece to mushroom back piece.


Glue the tongue piece to the bottom of the mouth piece. Then glue the Eye pieces and mouth/tongue piece to the front face piece.


Paint highlights onto the eyes using white acrylic or fabric paint. Let paint dry completely before moving on.


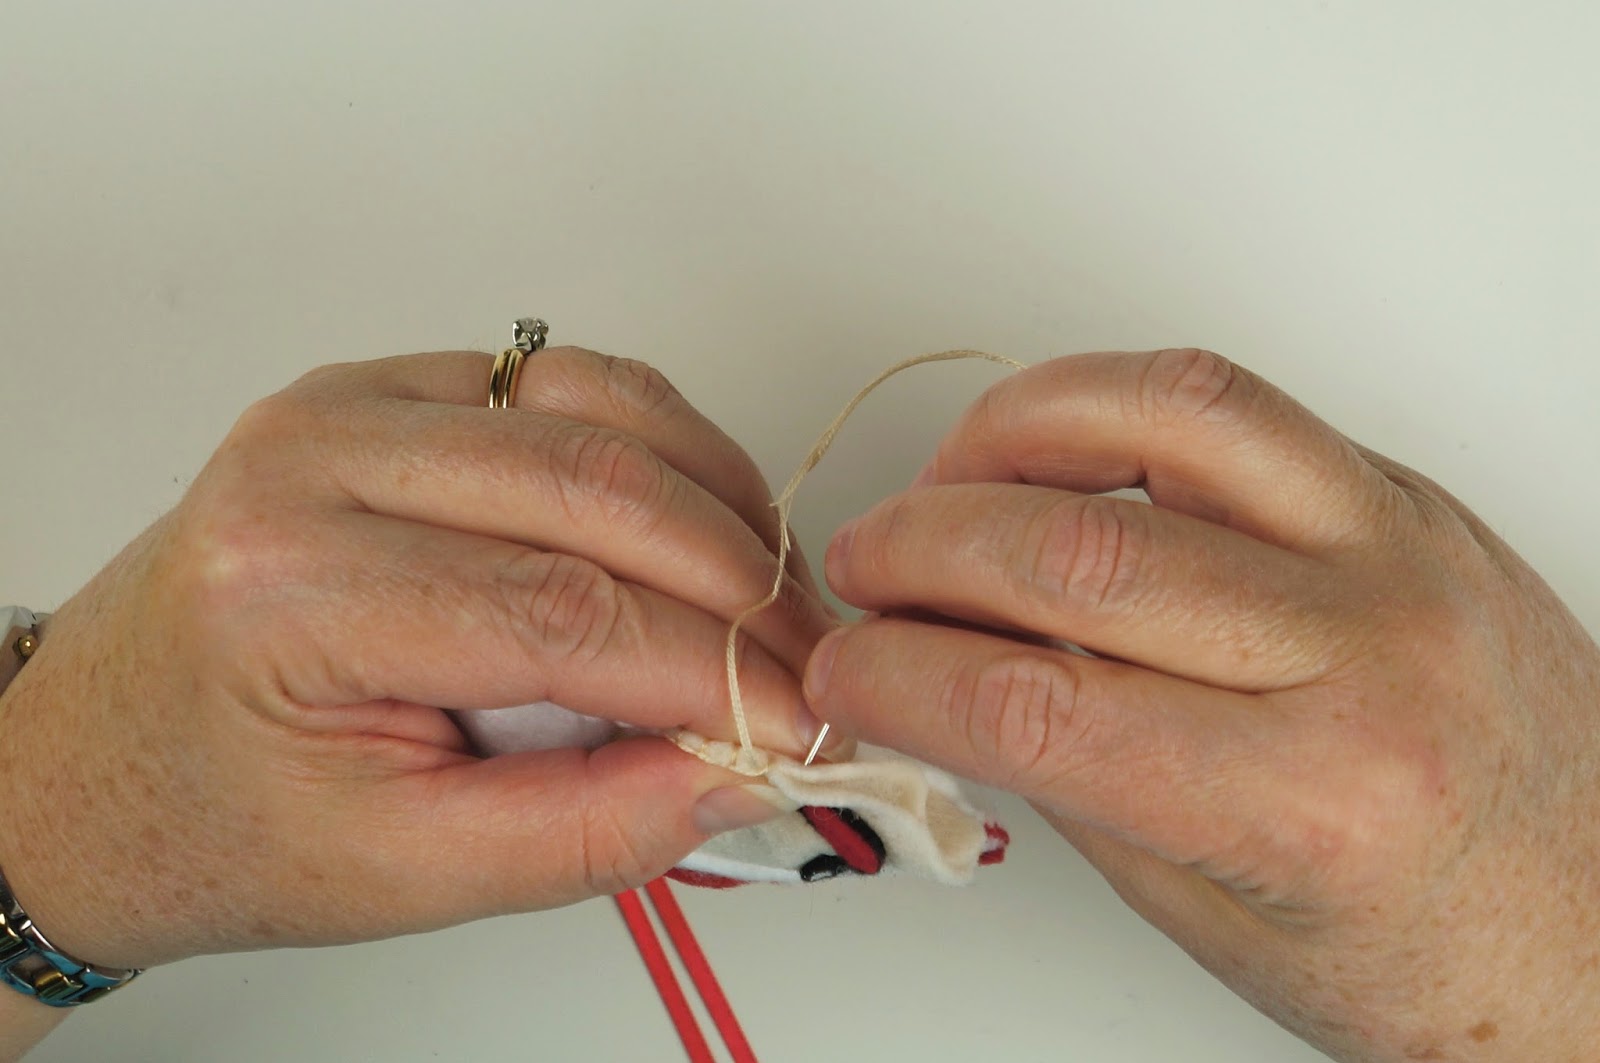
Line up and pin the front side and back side of Toad's head, wrong sides together. Cut a length of your red embroidery floss and split to use 3 strands (split in half). Thread your sewing needle and knot one end. Start sewing at one of the ends of the white mushroom piece. We recommend you use a blanket stitch.


When you reach the center top of the mushroom, it's time to add your ribbon. Cut a length of your ribbon, fold piece in half and insert folded end between mushroom halves, inline with next stitch. Make sure your next stitch pierces the ribbon to hold in place. Continue your blanket stitch around the other half of the mushroom top. Secure thread ends once you reach the other side of the mushroom piece and clip excess floss.


Stuff Toad head to desired firmness through face piece.


Line up and pin Toad face together. Cut a length of your peach embroidery floss, split to 3 strands, thread needle and knot 1 end. Sew face pieces together using blanket stitch.


Glue inner light piece to the center of one of the outer light rim pieces.


Line up and pin the 2 outer light rim pieces, wrong sides together. Cut a length of your grey embroidery floss, split to 3 strands, thread needle and knot 1 end. Start blanket stitch. Continue around the circle leaving a gap to stuff. Insert stuffing to desired firmness. Continue your blanket stitch until you've gone around the entire circle. Secure ends and clip any excess floss.


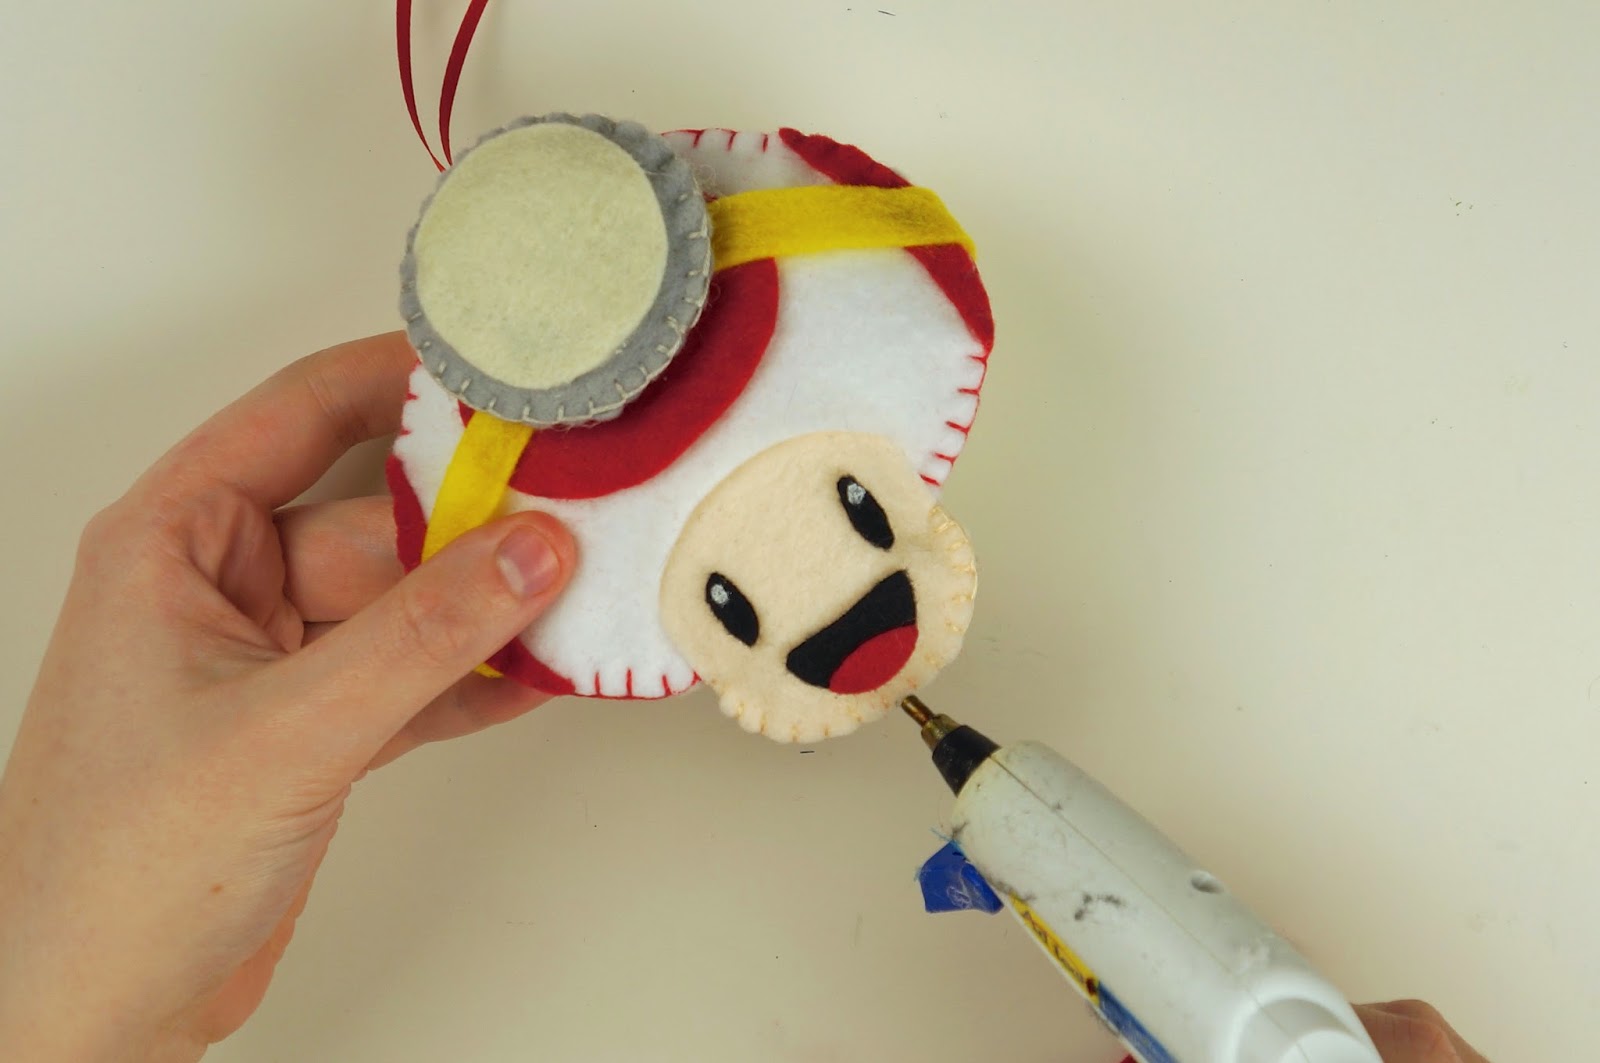
Measure a long length of your yellow felt that will wrap around your Toad head. We recommend your strip width be 1/2". Cut out your strip.


Glue the center of your strip of felt to the lower part of the back of the mushroom. Wrap both ends of the strip to the upper front side of the mushroom, spot gluing in place.


Glue the back of the light piece onto the center of your mushroom overtop of your yellow strip.


Glue the top edge of the bandana to the very bottom of your Toad face. Wrap the ends around the back and secure with glue.


Finish ornament off by tying your ribbon into an overhand knot.

Now you have your finished Captain Toad ornament!
No comments:
Post a Comment