Difficulty: Medium (basic machine sewing skill required) ★★☆☆☆
Materials you will need:
- Sigil template
- Medium weight cotton polyester (main bag fabric, solid colour suggested) .5 meters or 1/2 yard
- Cotton or cotton polyester fabric in choice colour depending on sigil (12" x 12")
- Heat n Bond
- 2 Grommets
- Nylon cording
- Basic sewing supplies (thread, seam ripper, pins, tape measure, seam gauge, safety pin)
- Fabric puncher
- Hammer
- Scissors
- Pen/ pencil
- Sewing machine
- Iron and ironing board
First you will need to print out one of the sigil templates.
We're going to be using the standard width of fabric for the length of the bag (45"). Measure 15" for the width of the bag and cut. Then line up both selvages and cut on fold so that you have 2 rectangular pieces of fabric that are 15" x 22.5".
Next you want to finish all raw edges of your fabric with a sewing machine using a zig-zag stitch to stop your bag from fraying.
Pin 2 short ends of your rectangles together then sew using a straight stitch (pressure foot width) to create the bottom seam of your bag. You might want to sew it twice to strengthen the seam.
Open up your bag so that you have one long rectangle. Place the rectangle flat with the right side of your bag facing down. Each shorter end of the rectangle will be the top of your bag. Turn 1/4" edge to the wrong side of the fabric about 3" and pin down on each of the 4 longer sides at each end. Sew with a straight stitch and back stitch at the beginning and end.
On either end of the rectangle, turn 1/2" to wrong side, pin then sew with a straight stitch.
Take each end again and turn 1" more to the wrong side of the fabric. Pin and sew again. Make sure to back stitch at the beginning and end of each seam. This will create the casings for the drawstrings.
Now its time to create the sigil for the bag. Take your template and cut a piece of Heat n Bond the size of the page. Cut a piece of your chosen fabric the same size.
First, press your bag fabric to get rid of any creases.
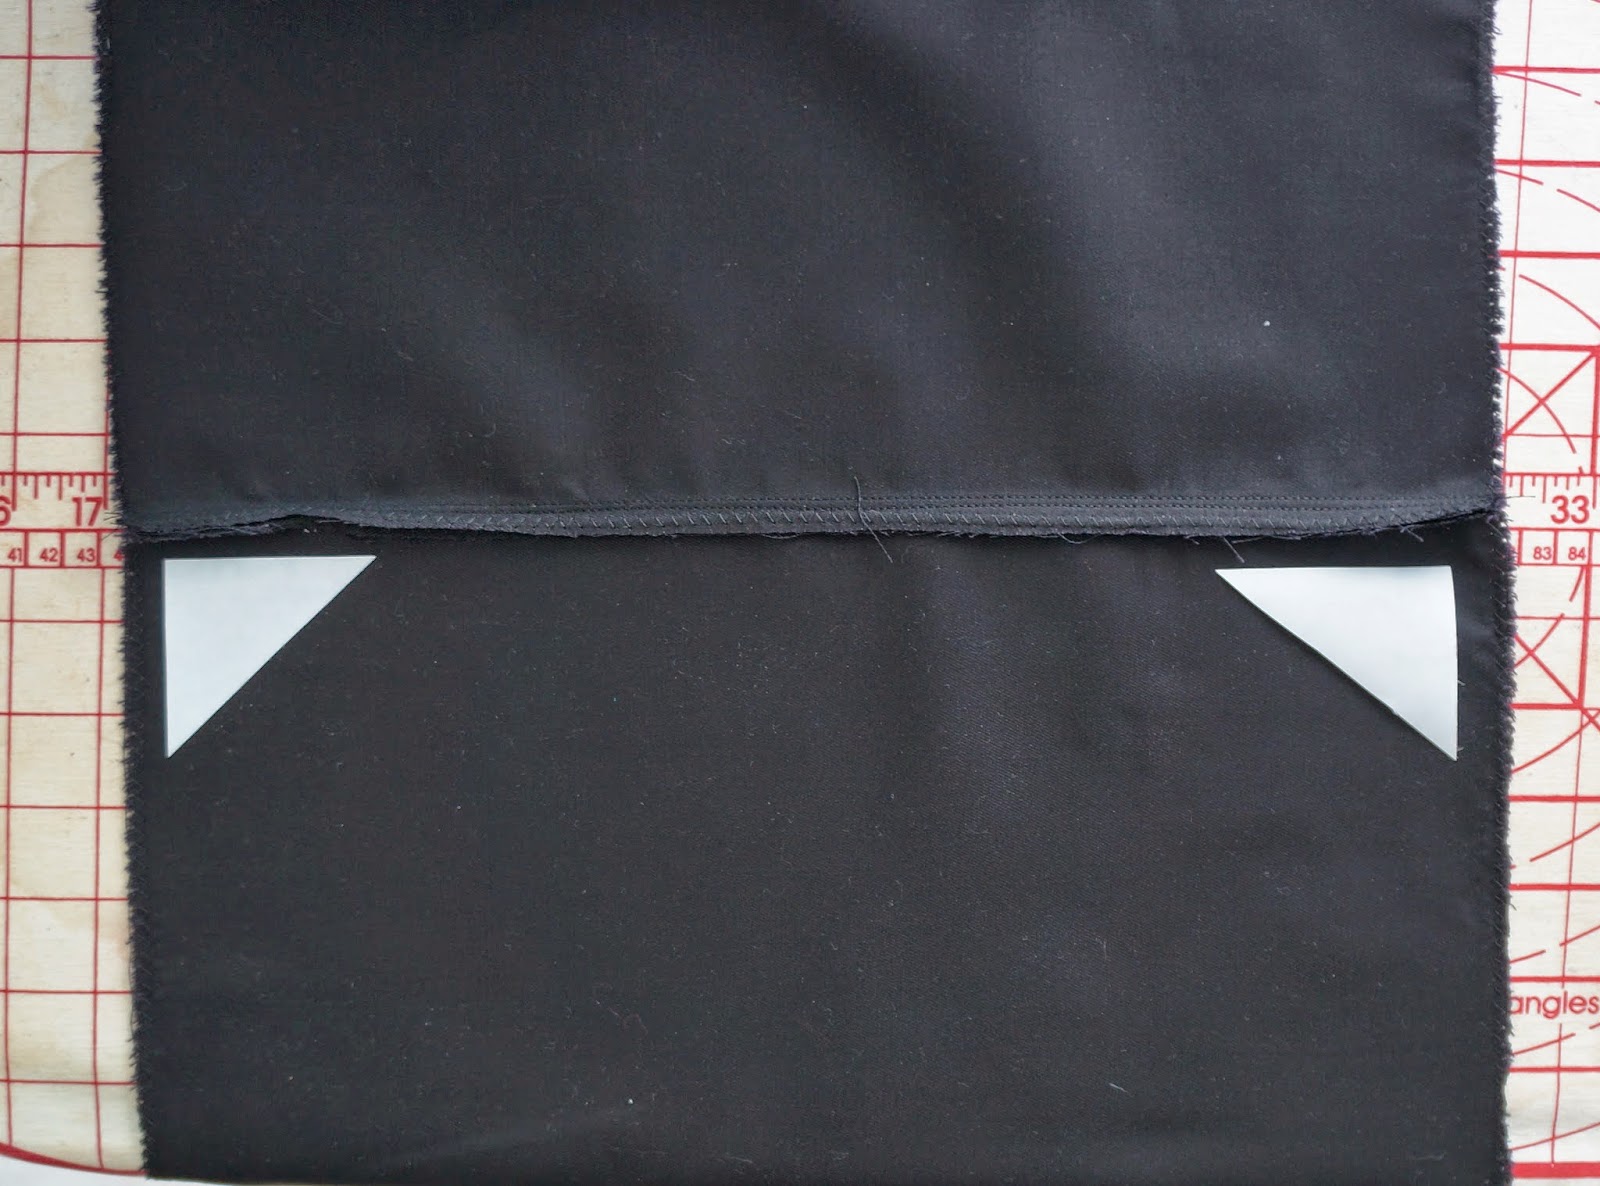
Cut 2 corners of your Heat n Bond to use to strengthen the bottom corners of your bag. Read the directions on the Heat n Bond product for correct temperature settings. Iron on the two triangles, place close to bottom seam on wrong side of fabric.
Next, iron sigil fabric and place right side down. Line up the Heat n Bond sheet to the fabric and iron onto wrong side. Make sure the glue side is face down.
Using your template, flip page over and trace the backside of the design onto the Heat n Bond sheet attached to the fabric. Press firmly for the design outline to show up.
Carefully cut out your sigil design. For small cut out areas, poke a hole with a sharp instrument, like a seam ripper, and insert scissors. For extremely small areas you might need to use a craft knife.
Carefully peel paper backing off of your sigil. Find the center of your bag by folding the fabric down the middle. Place your design to your choosing and iron into place according to product instructions. Make sure all of the small edges are adhered to the bag.
Fold the bag, right sides together, pin sides and straight stitch the sides of the bag, stopping at the casing. Turn bag right sides facing out.
At each bottom corner of the bag, measure 2.5" and sew across to create a triangle. This is where the grommets will go.
Before you start to put the grommets in, iron the bottom corners of the bag where the triangle pieces of Heat n Bond are.
Punch a hole in the center of each bottom triangle. You might need to take your pair of scissors and gently widen the hole for the grommet to fit through. Follow directions on the packaging of your grommets for installing. Most have a special tool that you will need to hammer the grommet closed.
To measure the cord length that you will require, lay your bag flat, measure from the grommet, up the side of the bag to the top, across the top, then back, and down the side of the bag that you started from plus 1" extra. Do the same thing for another piece of cord.
Start by tying a knot on one end of 1 of the pieces of cord. Insert a safety pin into the knot (a paperclip can also work). Begin to feed your cord through 1 side of the casing using your safety pin as the lead. When you come out the opposite end of the casing, feed the cord through the casing on the other side, making a u turn. Once you're through both casings, pull the cord to the grommet on the same side. You should have both ends of the cord by the grommet. Feed both ends of the cord through the same side of the grommet and tie an overhand knot to stop the chords from pulling through the grommet. Trim ends if required and then either singe or glue the ends of the cord to prevent it from fraying.
Do the same for the second piece of chord for the other side.
Now you have your finished Game of Thrones drawstring backpack!


This is so cool! You should consider selling them on etsy!
ReplyDelete